
Tasks are event requests for the locations or resources you manage. Since you are a Scheduler in the 25Live system, you have an obligation to closely monitor Tasks so you can respond to requests. It is a best practice that all Schedulers within the University respond to requests within 48 hours. All Schedulers should sign in to 25Live on a daily basis.
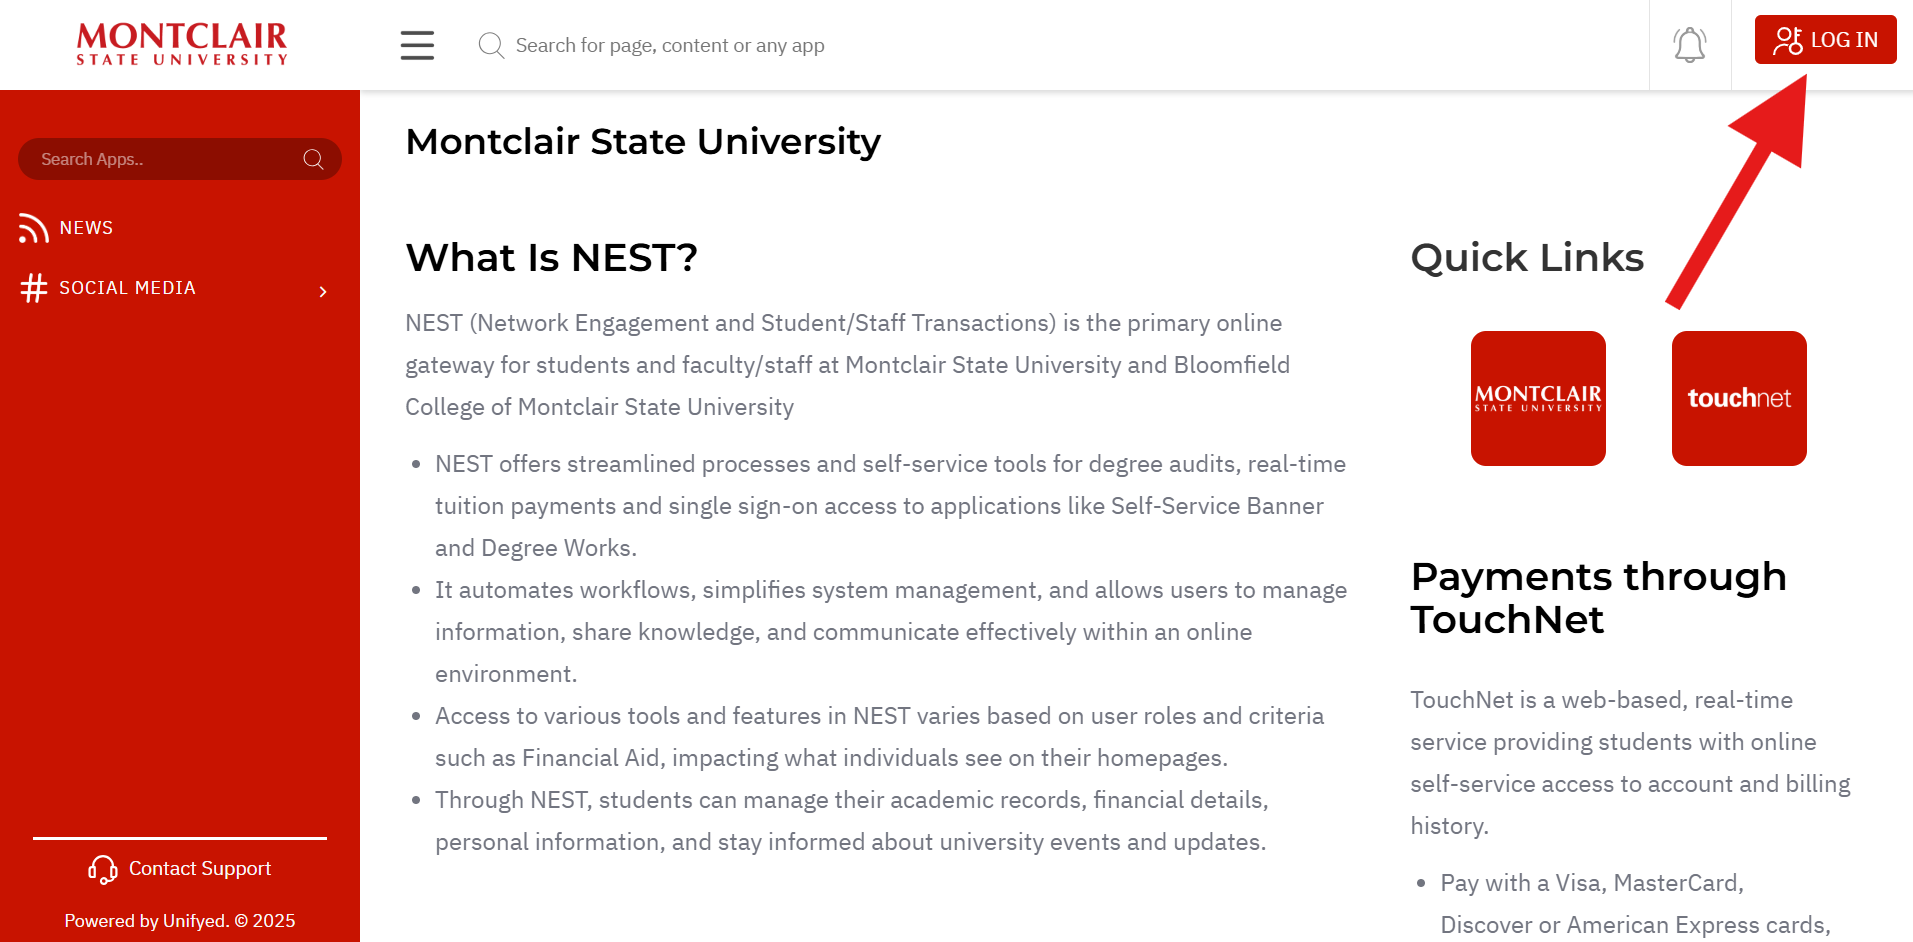
Log into NEST using your University NetID and password.
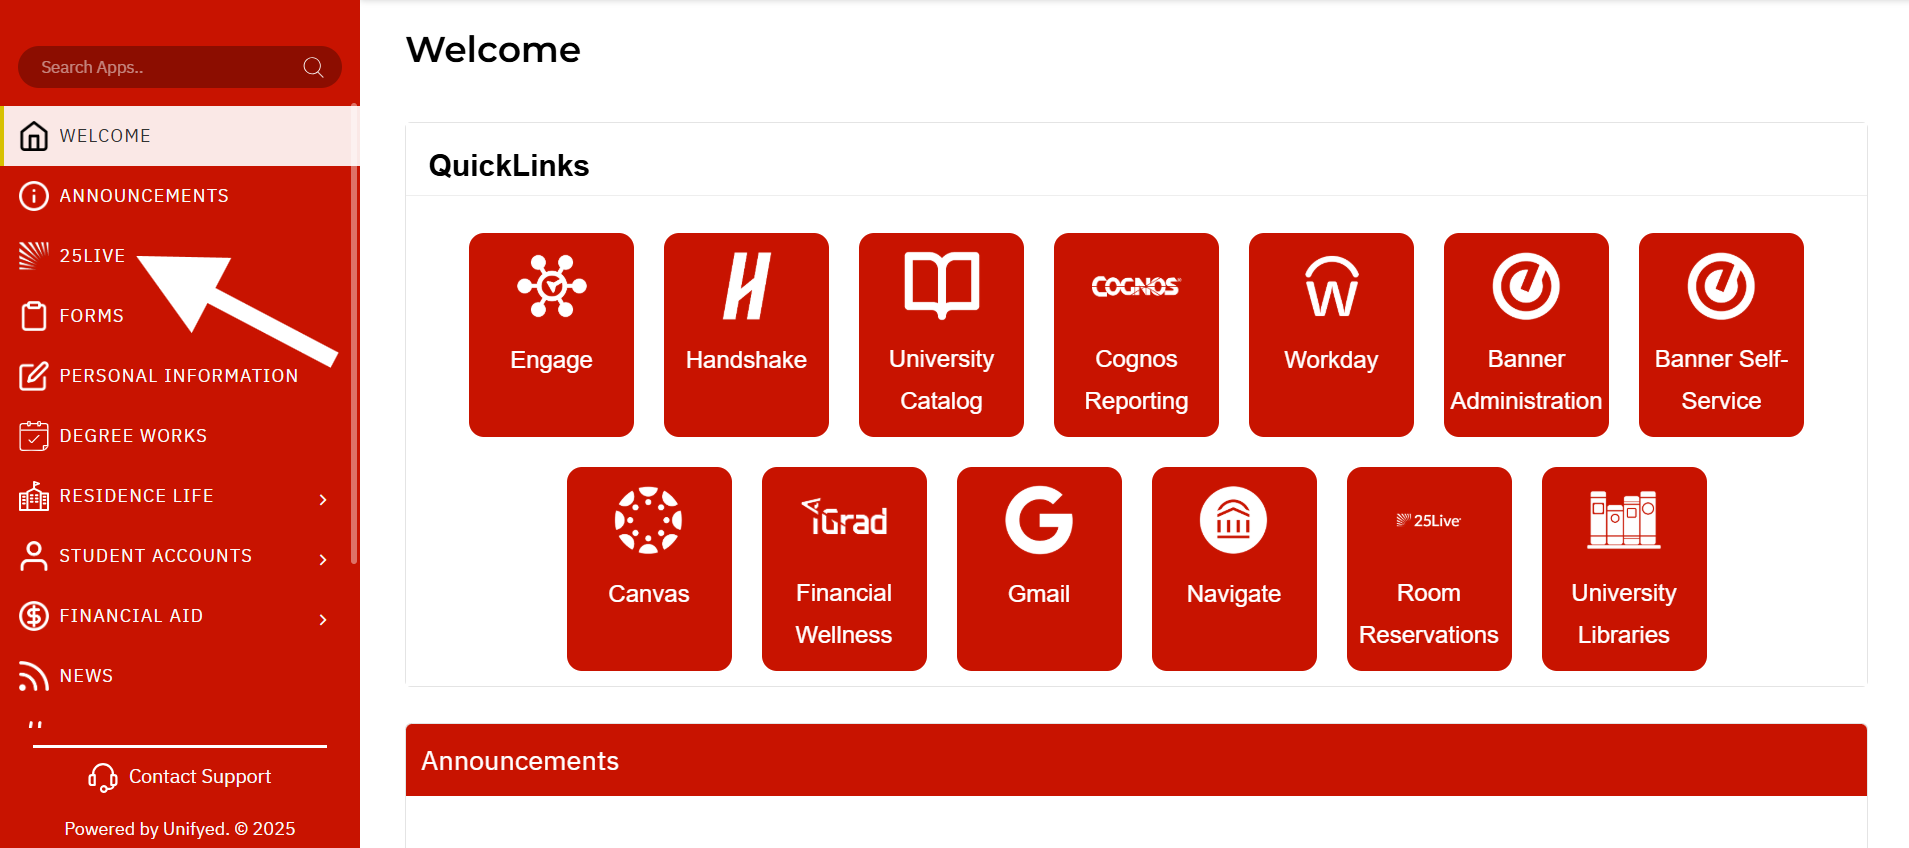
Navigate to the NEST Dashboard Sidebar Menu and select the 25Live link.
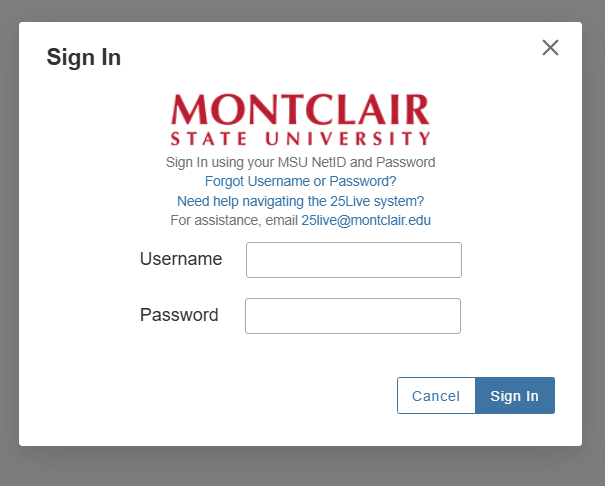
You can also go to https://25live.collegenet.com/pro/montclair and sign in with your NetID and NetID password. Note: the preferred browsers are Firefox and Chrome.
**Note: Clicking on images on this page will make them larger
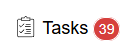
You will also see the Tasks box at the top of the center column. This box will show you all pending event requests.
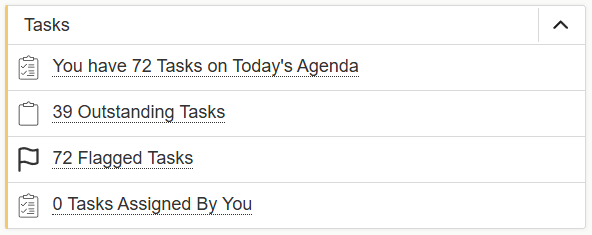
- Outstanding Tasks – Tasks assigned to you and due within a time span that covers the past 30 days through the next 30 days.
- Flagged Tasks – Tasks assigned to you that you have not completed or you flagged for further attention.
Note: Assignment tasks will always have a response by the date that is the day the event was created unless a user manually manipulates the date.
Click either Outstanding Tasks or Flagged Tasks to review requests. This will take you to your Tasks overview.
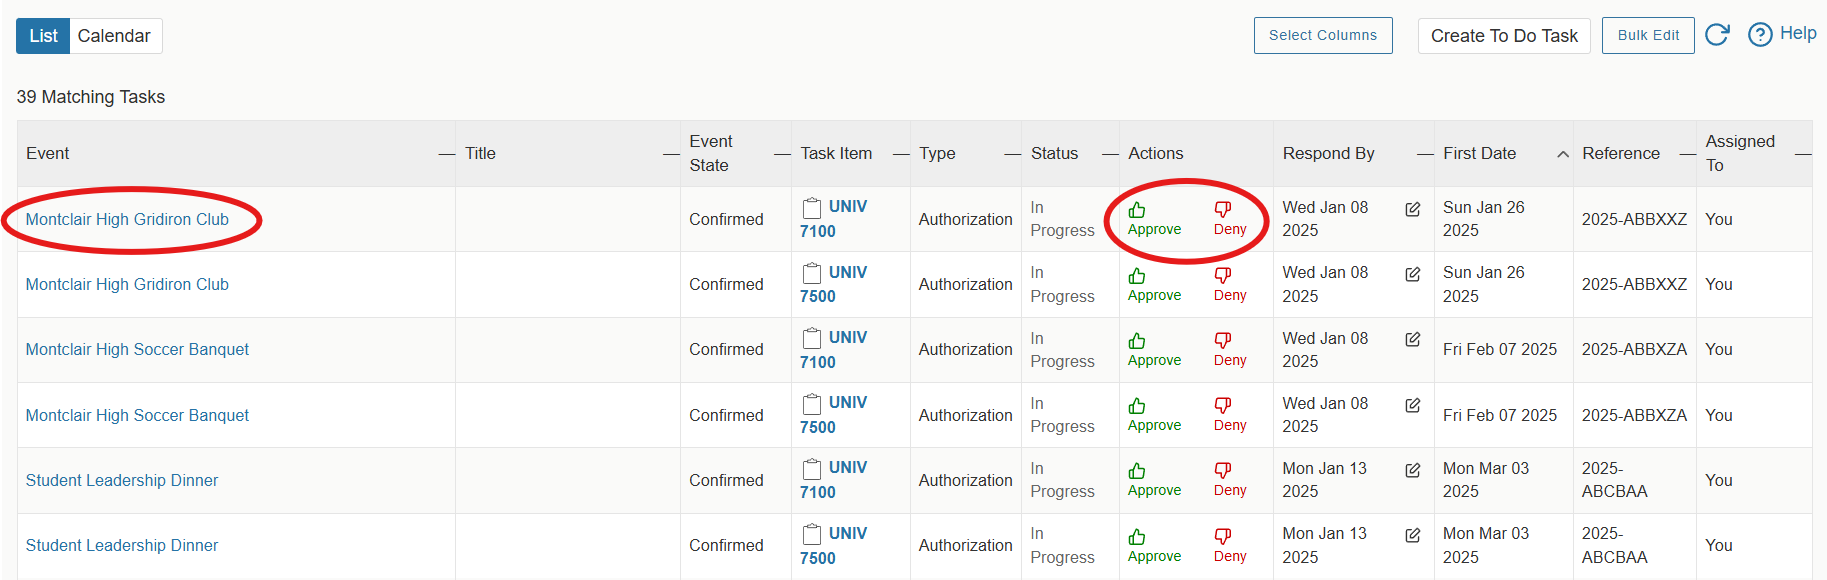
- Events are divided into multiple tasks in this view with a separate task associated with each location requested for every pending event request. While you can Approve and Deny location assignments in this view, it is recommended that you review the event as a whole instead.
- To review the entire event request, click on the event title in the Event column on the left.
Note: Users are only able to request locations that were available at the time they made the request. It is possible that you have assigned a location already and it is no longer available for the event request you are now viewing.
The default display of the Task List is by order of submission from the requestors so you know who asked for a location or resource first. They can then be assigned as first-come, first-serve. However, you can also re-sort the list by clicking on various columns.
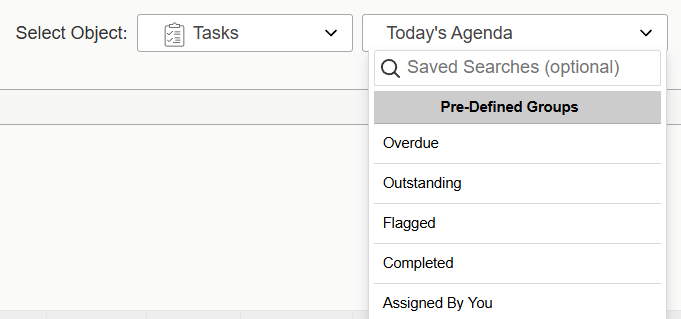
From the Select Object dropdown menu, you can also view Overdue, Flagged, Completed, or Assigned By You Tasks.
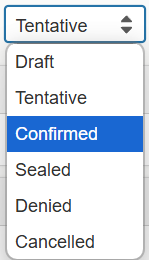
- Confirmed – Request for location is approved.
- Denied – Use Denied when you want to deny the space requested for an event. Upon notification of the denial, this option will allow the original requestor to go back into their event request and choose another location and resubmit it.
- Canceled – Use Cancelled when an event has been canceled, and will not take place at all.
- Sealed – Do not use this Event State. Sealed will lock an event which will prevent anyone (even the scheduler) from being able to edit it.
Exception: If the event contains multiple location requests, some of which you do not manage, do not change the Event State. The last scheduler should change the Event State after all pending Tasks are reviewed.
Clicking on the event title will take you to the Event tab and display all tasks related to the event request you are viewing. You can look at the full details by clicking on the Details tab. You can also expand the tasks listed by clicking the + to the right of each task.
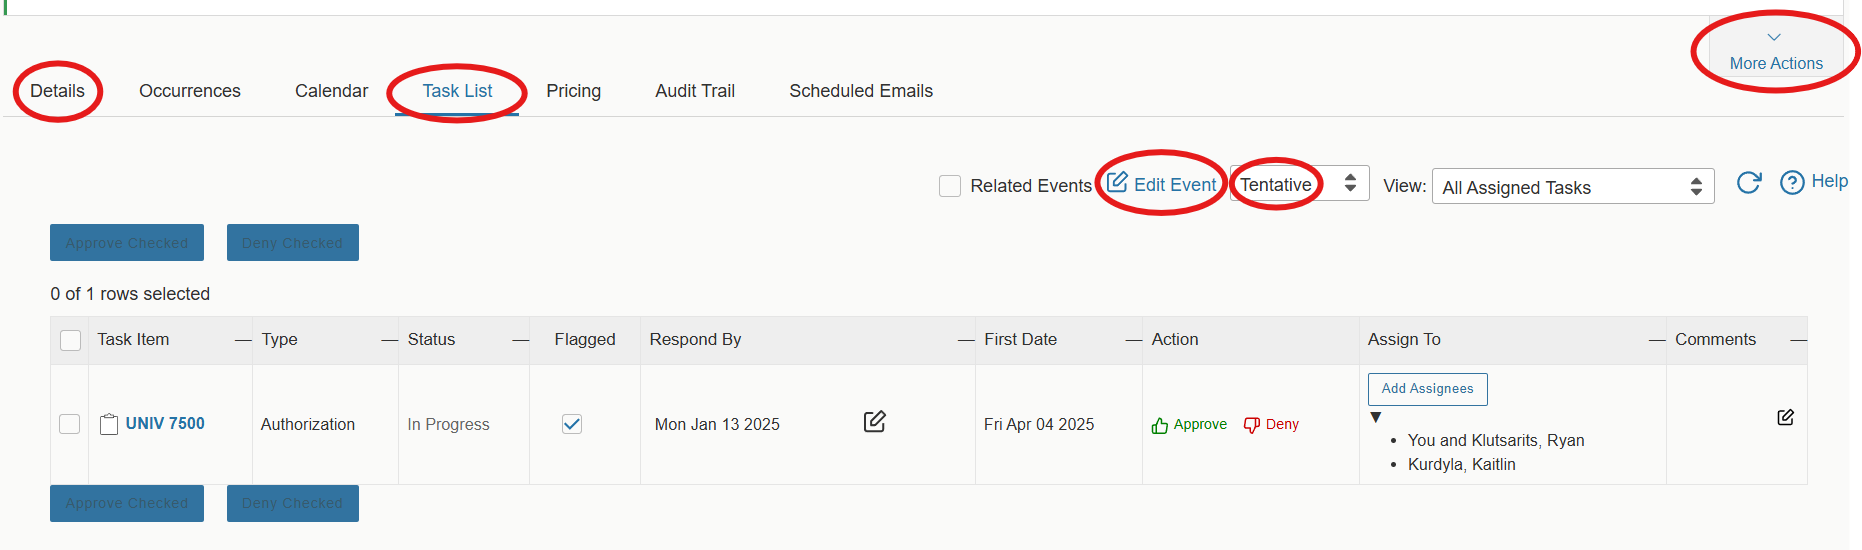
- If all the details look good, you can approve the entire event request by clicking More Actions under the Task List tab and then Assign All. Or you can Assign some and Deny others by expanding individual locations. Change the Event Status from Tentative to Confirmed when you are finished.
- You can also edit event details with the Event Wizard by clicking Edit Event.
- After confirming an event request, it is best practice to send a confirmation email to the requestor. Confirmation emails are sent by clicking Email Event Details under the More Actions dropdown.
Scheduler Name
As you will notice from the list of Tasks, the Scheduler of each separate Task is most likely going to be the person that placed the request. 25Live defaults most event requests to the name of the Requestor. If you would like to update the Schedulers name to your own, do the following:
- Click on the Edit Event icon

- A summary of the event request will appear on the left-hand side of the screen. Click on the Scheduler Name and make the appropriate update.
- Save.
Notification Email
Requestors will not automatically be notified of your status update of Approved or Denied. You must email them separately so they are made aware of the status as soon as you have updated it.


- To send a notification email, go to the More Actions dropdown, and click on Email Event Details.
- Make sure to select a recipient, usually just the Requestor, by clicking the appropriate checkbox. Additional Recipients may also be added.
- A ‘best practice’ recommended by many schedulers is to include the word ‘DENIED’ in the Subject line if you have denied the request. By appearing in the subject line, it is very clear to the Requestor there was a problem with the request.
- Enter your text in the Message Body to clarify the status of the event for the requestor and/or scheduler, both room and resources where applicable as well as any other details you need to confirm. It is recommended that you select the option to Include Event Details in the body of the message.
- Under Attach click on a relevant attachment to send a PDF with all the details. It is strongly recommended you use Event Confirmation (Related). You can also add additional attachments if you choose to do so. It is also recommended that you Attach an iCal File so the recipients can easily create an event in their Outlook Calendar.
- Check off the Include event details in the body of the message so the email notification includes all of the original details of the request.
- Send.
If you have questions about using 25Live, please email 25Live@montclair.edu.