
Purpose: Use this guide to create reports collecting utilization data for space management purposes.
Audience: Office of the Registrar.
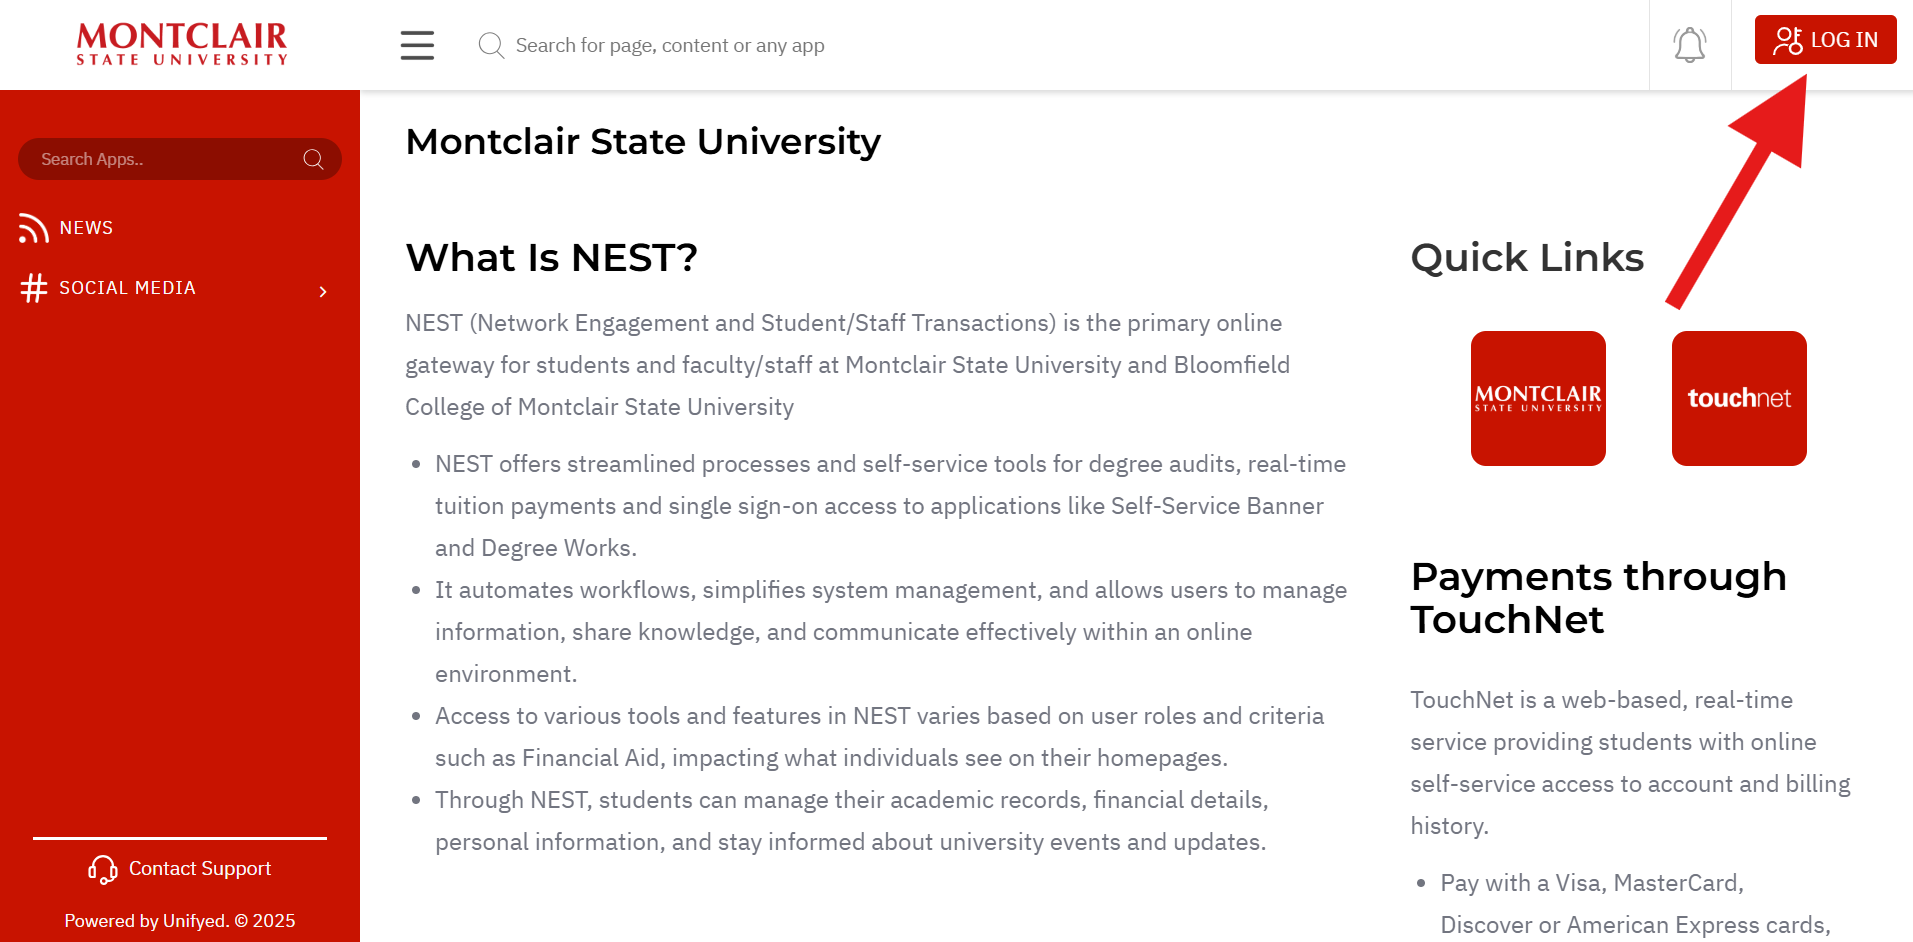
Log into NEST using your University NetID and password.
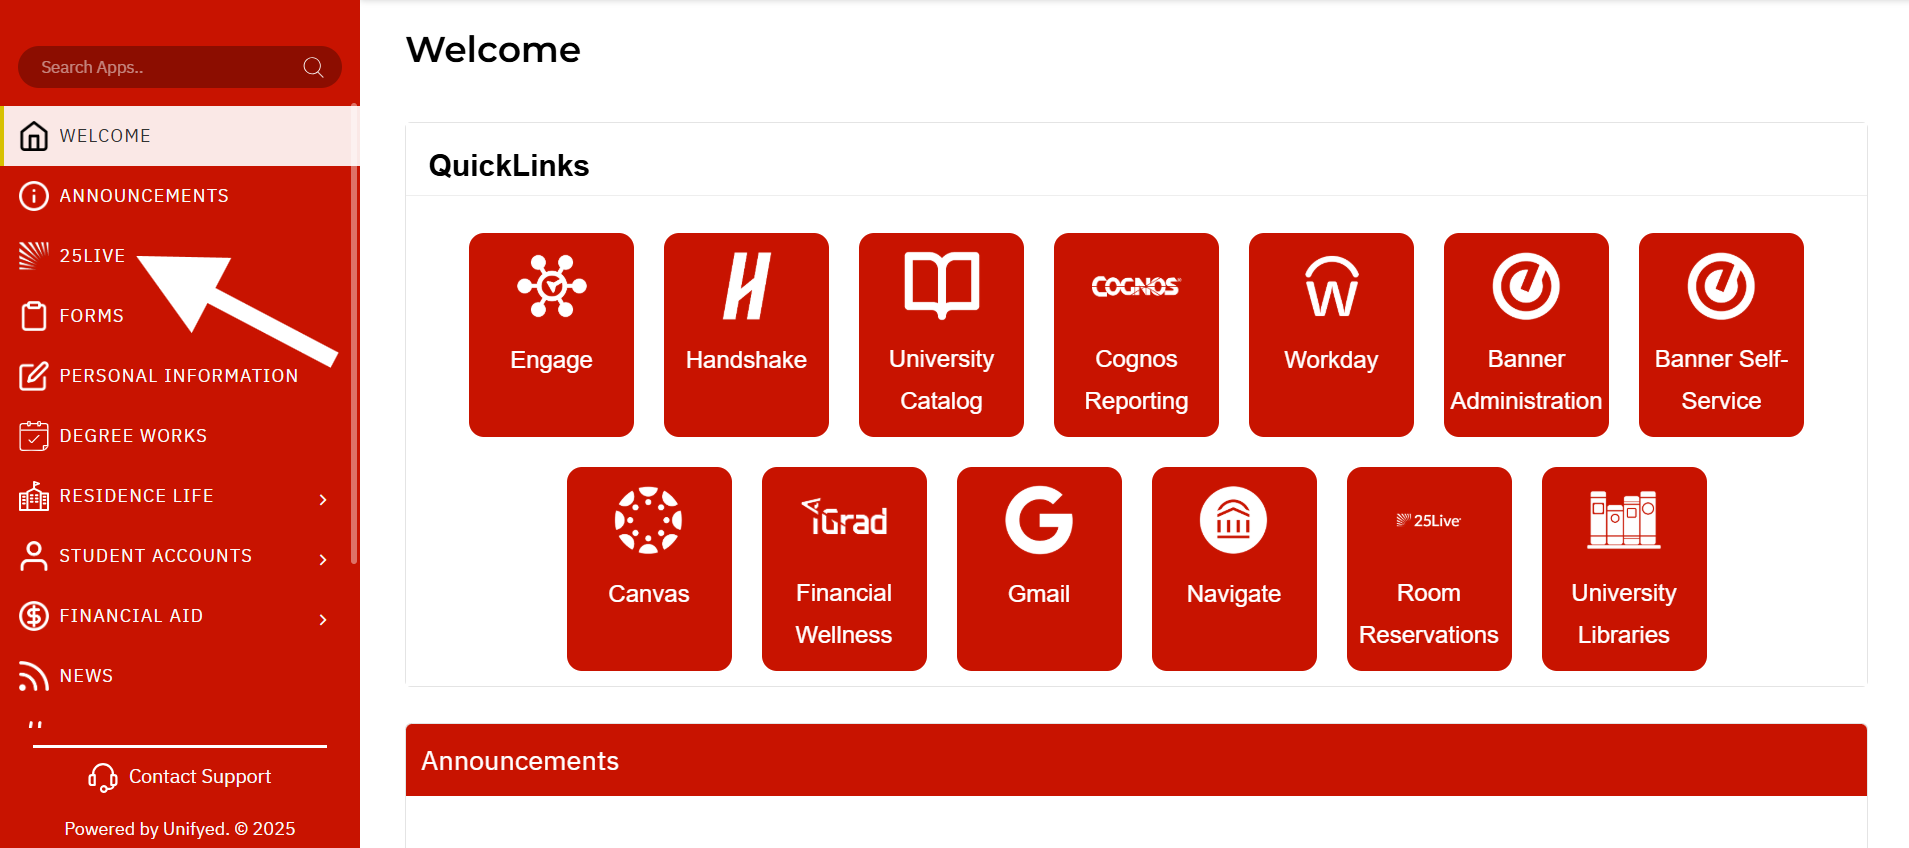
Navigate to the NEST Dashboard Sidebar Menu and select the 25Live link.
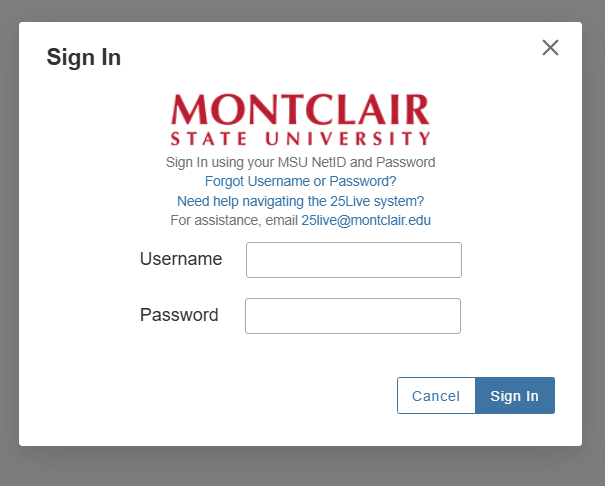
You can also go to https://25live.collegenet.com/pro/montclair and sign in with your NetID and NetID password. Note: the preferred browsers are Firefox and Chrome.
**Note: Clicking on images on this page will make them larger
Creating a Search for Events
At a minimum, there should be two different searches used in looking at space utilization. The first event search used in this analysis will be the academic courses. The second search should be for all events. It is good practice to review how your rooms are being used by classes and all other types of activities.
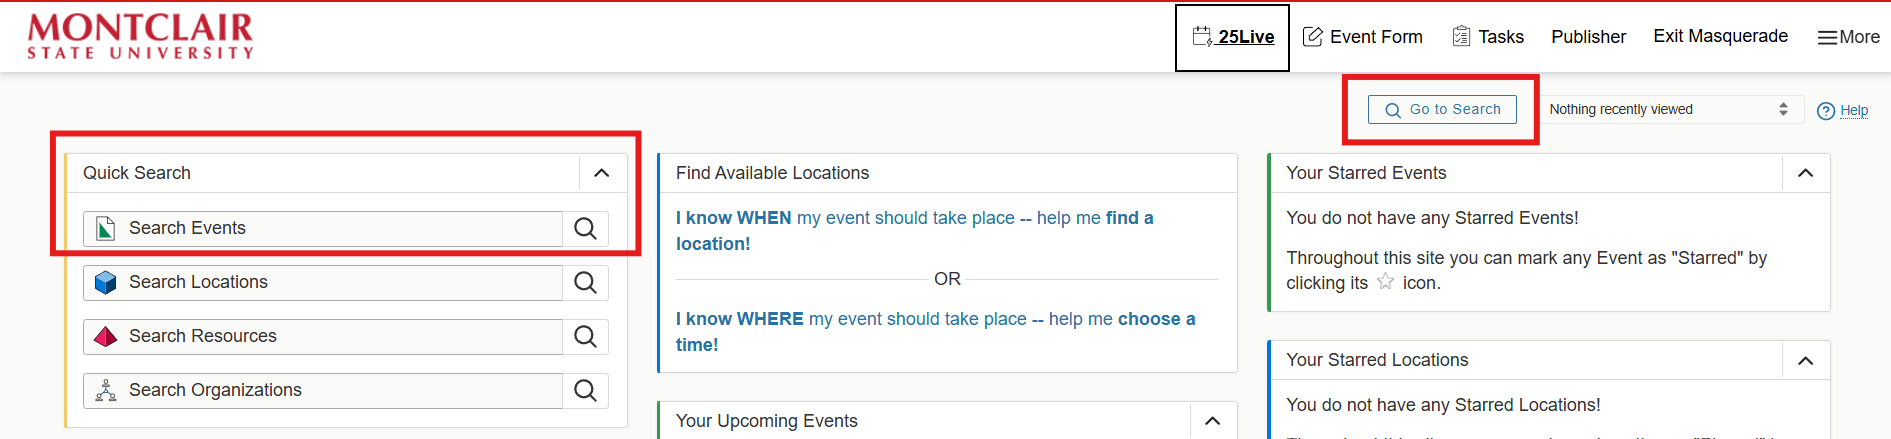
Click on the Search Events or Go to Search.
On the Search Events page, select the Advanced search option, and then click on Add Criterion.
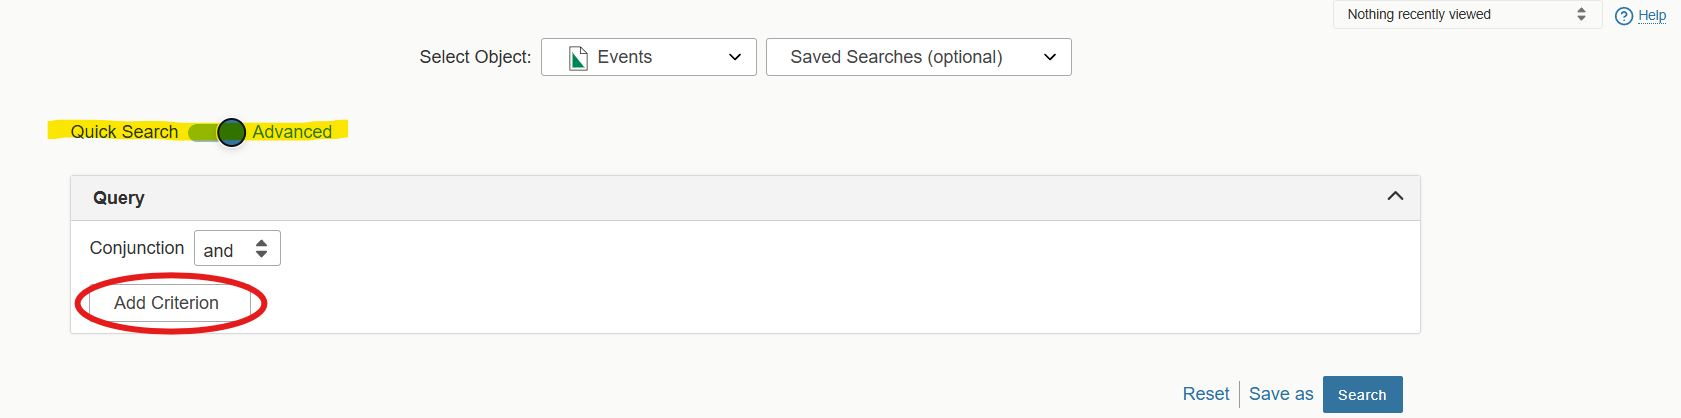
This option will allow users to define search using additional parameters.
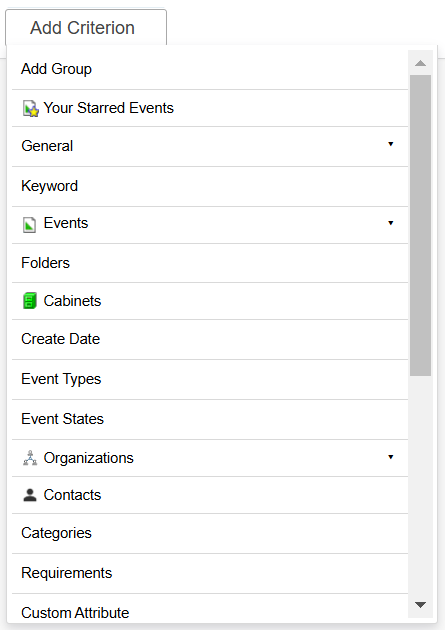
From the menu select Cabinets. Since we are looking at academics in the first report, you want to choose your academic cabinet.
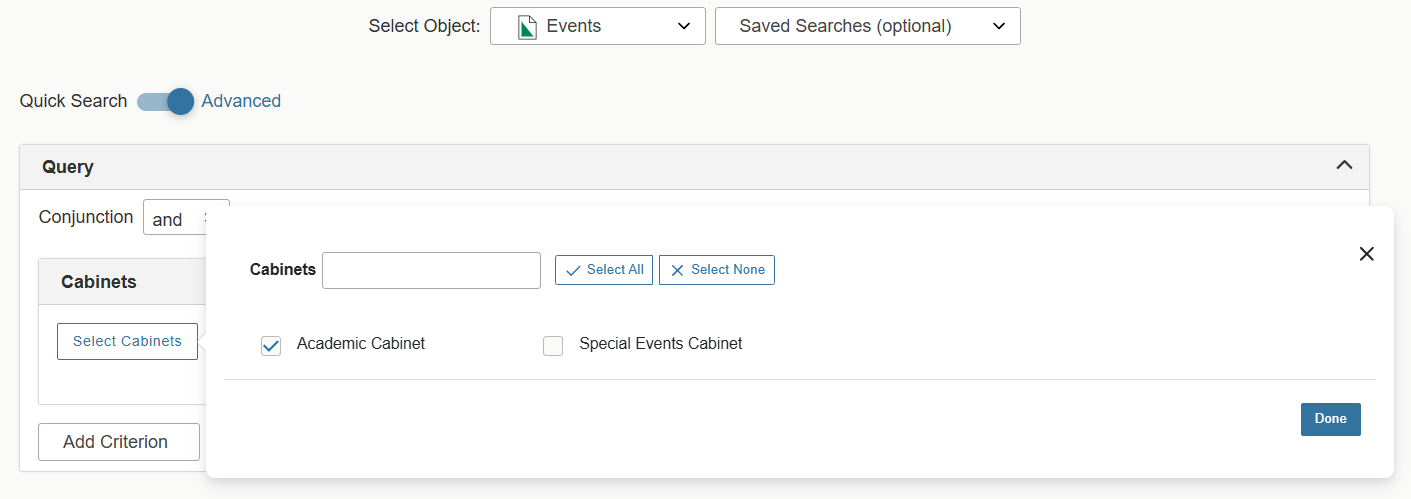
Click Select Cabinets and select Academic Cabinet. Then click the Done button.
If you wanted to look at All Events, then it would be appropriate to check on both cabinets: Academic Cabinet and Special Events Cabinet.
The next Criterion for your academic search is to choose the associated academic term. Click on Add Criterion. From the menu select Categories.
If you choose multiple Categories, make sure you choose either Include Any or Include All. 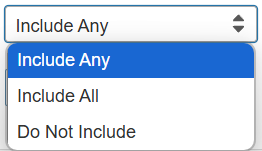
- Include Any will pull a more expansive selection.
- Include All will pull a more limited selection.
- Do Not Include will give a more expansive Event search, but omitting those Events you do not want to be included.
Under Categories, click Select Categories and select 202520. Then click the Done button.
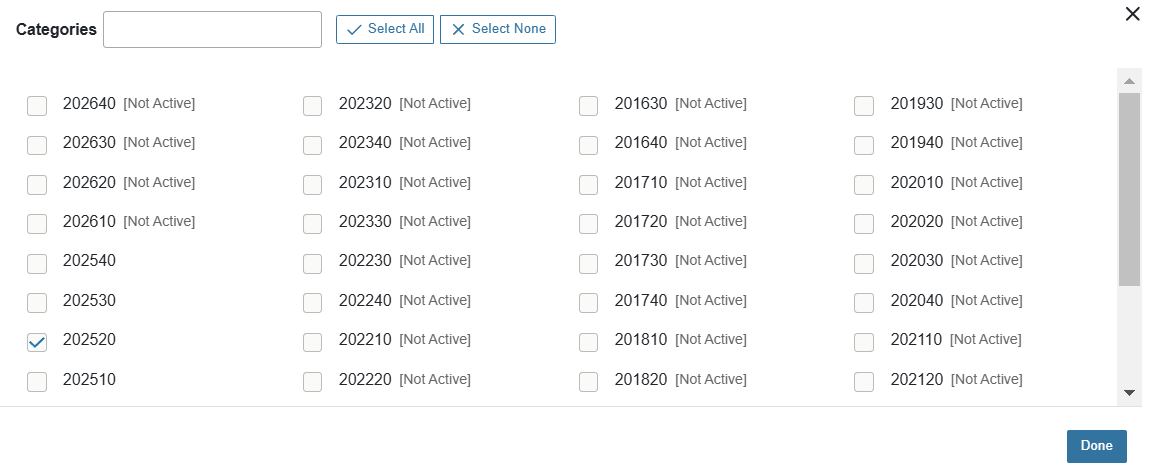
Once finished selecting the criterion for the categories, you can click the Search button which will display your search results. ![]()
Click on the Save As button and type the Search Name to save your search.
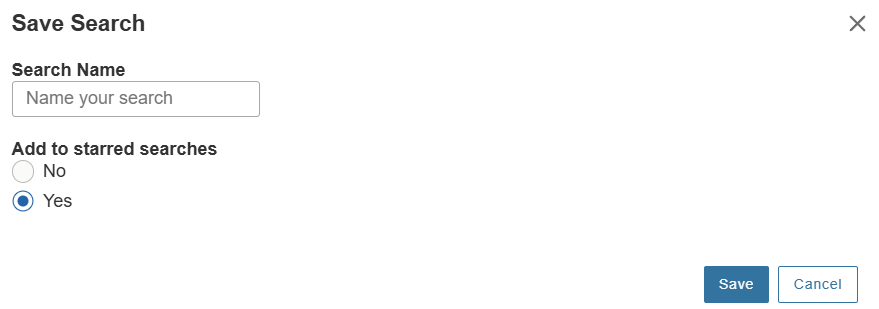
Mark Yes if you would like to add your search to your starred searches. Click Save.
Scroll down after the Save As button to view the generated List.
The information can also be displayed in the calendar view by clicking on the Calendar tab. 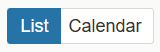
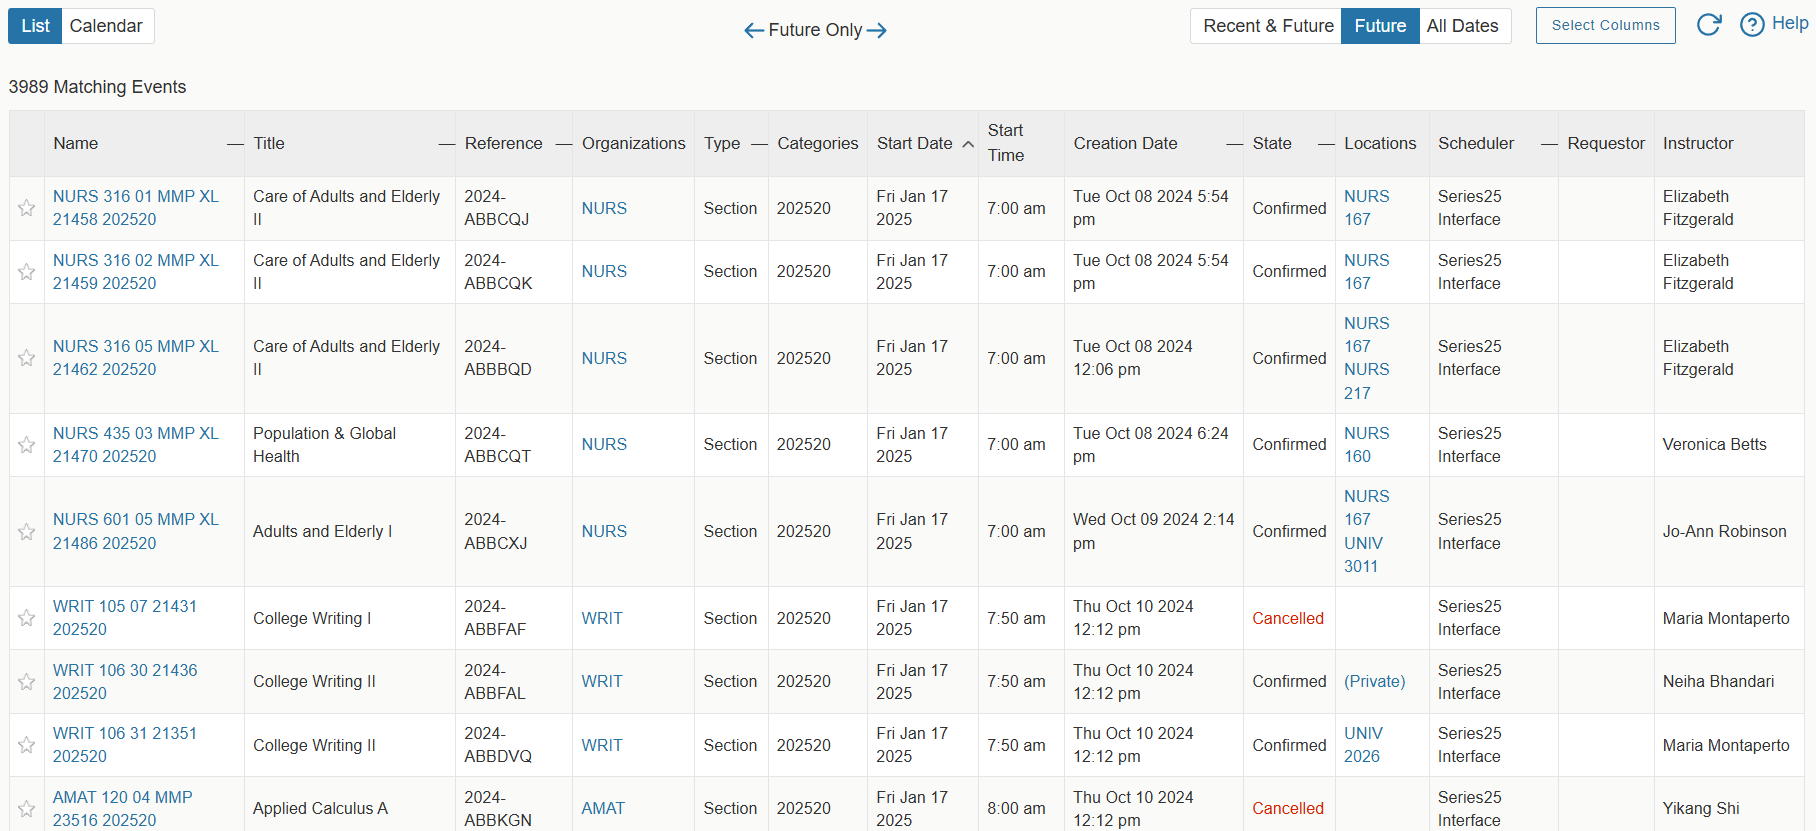
Keep in mind that 25Live will display recent & future events by default. If you want future or all dates included in your list, toggle from Recent & Future to Future or All Dates. ![]()
Depending on the type of event, information displayed under each column above will indicate:
- Name: abbreviated course section information or non-academic event’s name.
- Title: long title for the academic record or long name given to the non-academic event.
- Reference: a number given automatically to the record once entered in the 25Live system.
- Organization: department abbreviation or name of the organization listed as reserving the location.
- Type: class type or non-academic event type.
- Category: academic term or not, the information will be displayed under this column for non-academic events.
- Your role: no information will be displayed for academic records, the requestor or scheduler will show it for non-academic events.
- Start Date: beginning date for reservation.
- Creation Date: the date when the event was brought over via the interface for academic records or dates when non-academic events were created in the system.
- State: tentative or canceled will show for academic records. In addition to the two states showing for academic records: a draft (not holding location) will appear for non-academic events.
- Locations: space assigned to the event.
If in need to modify your search or view, please note the indications below:


- Click on the Future button to select only future dates.
- Click on the All Dates button to select all dates.
- Click on Choose Columns, to hide or show columns as needed.
- Click on the
 refresh button and Reset link, if the search was modified, to show updated data.

- Go to the bottom of the page to select a different page number showing searched information (Selecting any of the number links will take the user to the that page if needed). Also, users can choose the number of items per page by adjusting the Page Size.
Now you have your event search which can be used in any Report template.
To reference any created or saved event search
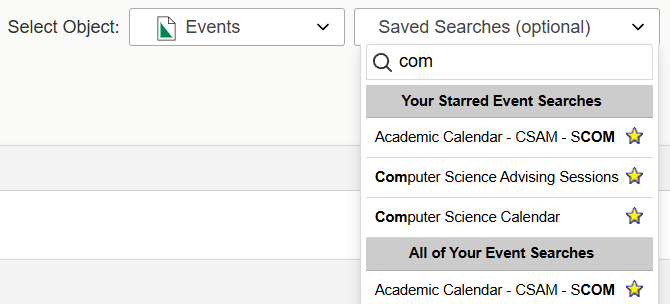
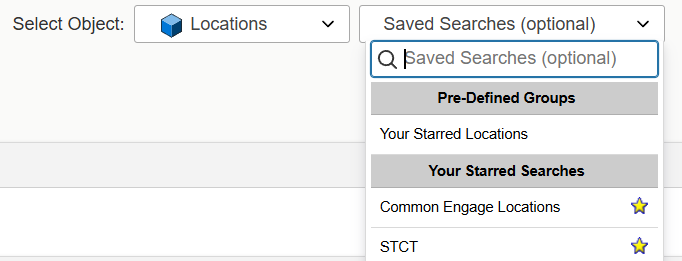
Click on the Pre-Defined Groups option from the drop-down list.

Type the name of your saved search and it will populate name searches that match the words you type. Click over the search’s name to run the search.
Your Starred (favorite) Event Searches will show a yellow star to the right.
In the Pre-Defined Groups section, you can choose Events You Have Requested, Events You Are Scheduling, Feature Events, and more.
Creating a Location Search
Creating a Location Search in 25Live allows users not only to quickly review the availability and features of a subset of rooms, but it also enables them to run a variety of reports for these locations.
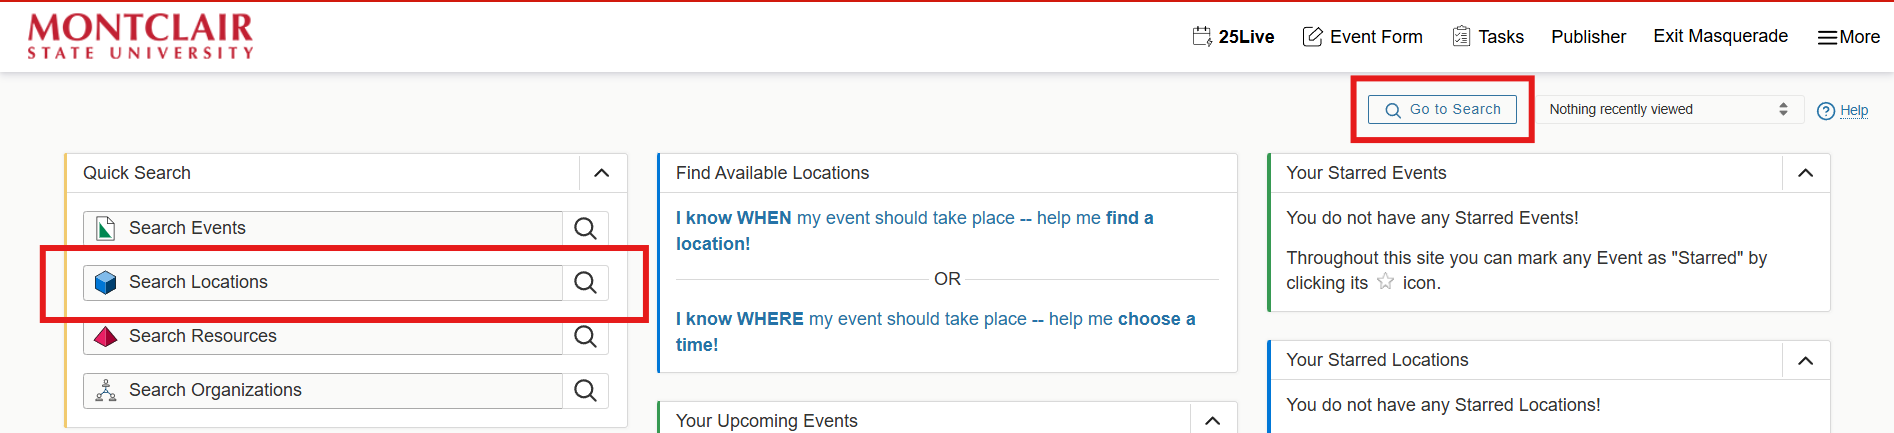
For a quick view of space availability, click on the Search Locations text field.
Type the name of your university-owned building and click ![]() go.
go.
Users could also click on the Go to Search button to create a location search.
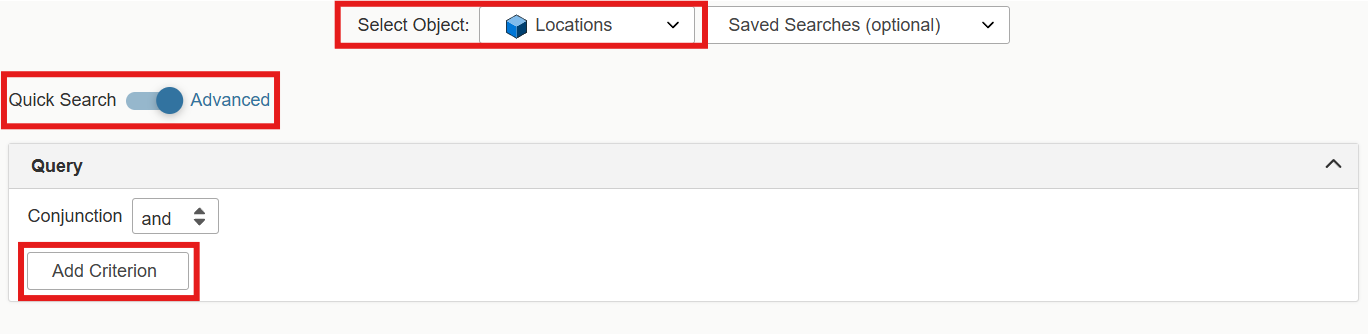
Next, from the Select Object drop-down menu at the top of the page select Locations. Then, flip the toggle switch from Quick Search to Advanced. Lastly, click on the Add Criterion button to begin creating your search.
Read below for some ideas on searches that may come in handy.
Locations with specific room features
From the Add Criterion list, select Features.
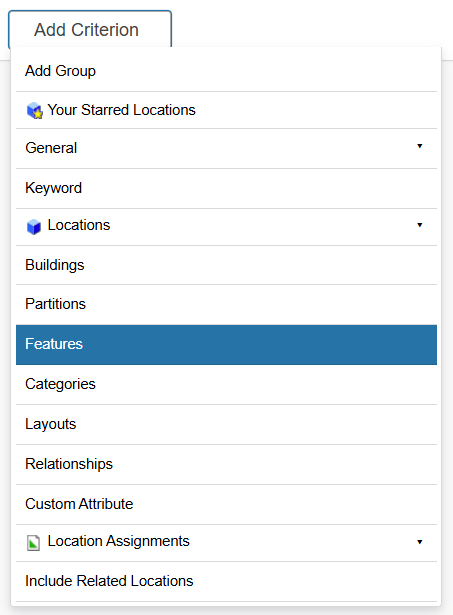
Once you do, the word Features will appear at the top of the criterion.
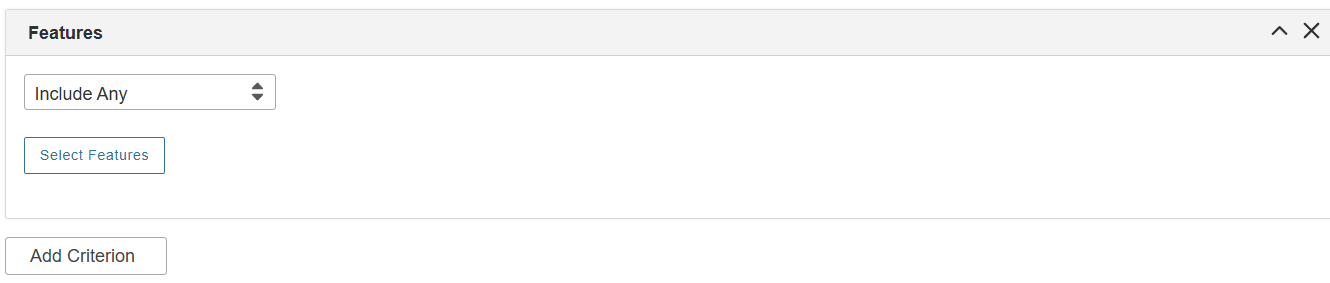
Now you can select which feature you wish to create the search. Click on the ‘Include Any‘ drop-down menu and select that option for a more expansive result.
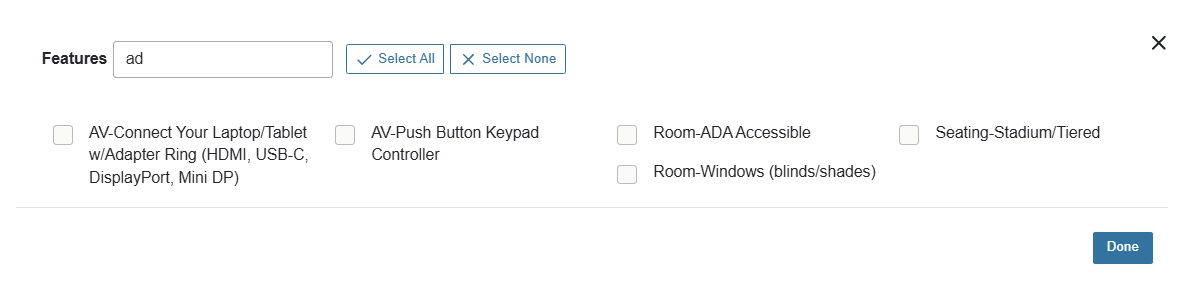
Click on the Select Features button. Once you do, a Features search window will pop up. Type in part of the name of the feature of interest to you, then click on it in the list of search results. Lastly, click on the Done button.
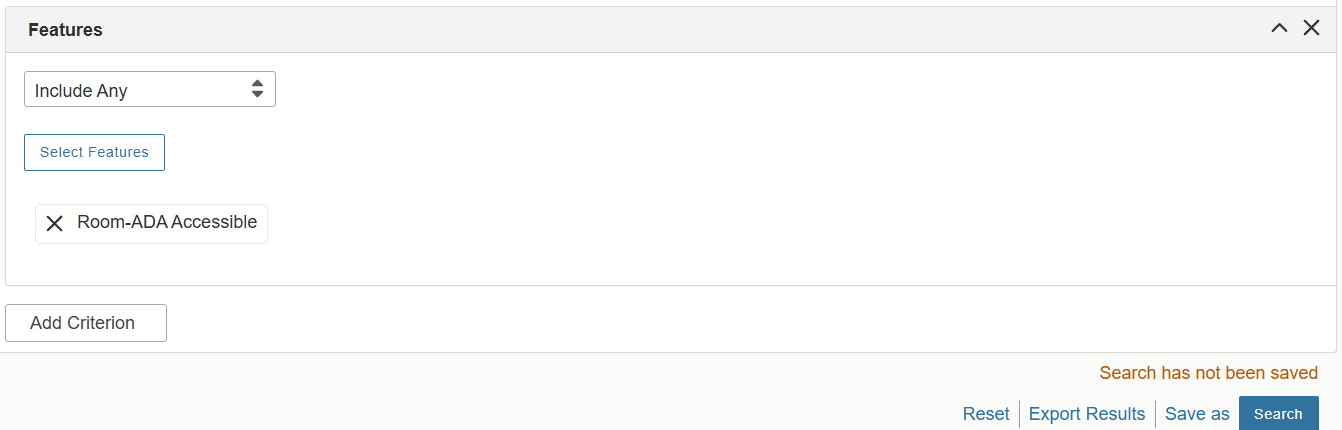
Next, select the Save As button in the bottom right corner.
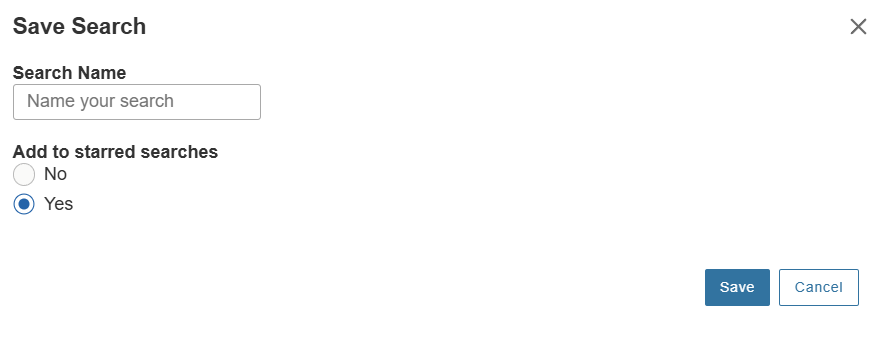
Give your search an informative name, for example: “ADA Rooms”. Then decide if you want to add this search to your starred searches for speedier future access.
Lastly, click on the Save button in the bottom right corner.
A group of specific locations
From the drop-down menu select Locations, then Specific Locations

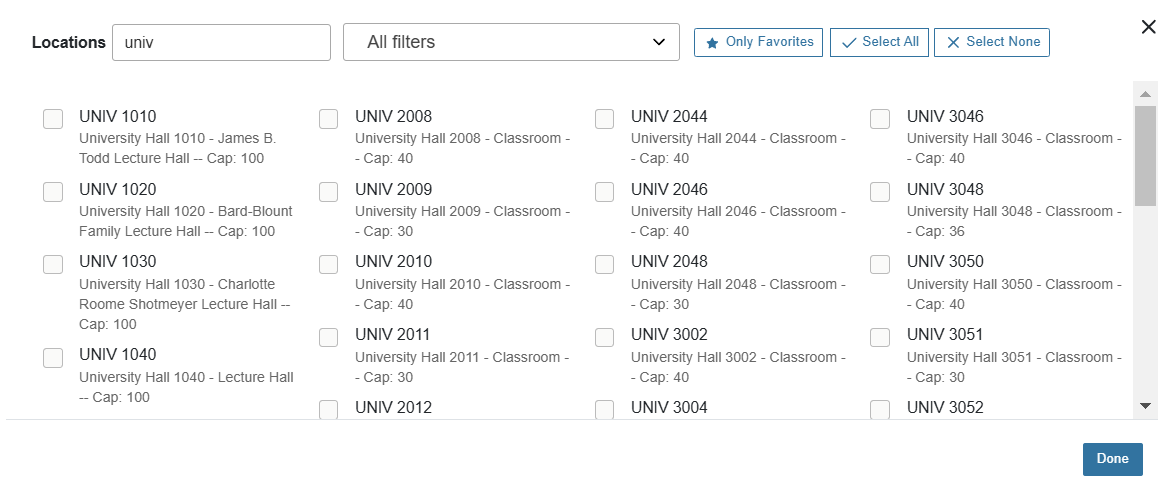
Next, click on the Select Locations button. In the Locations search field, enter for example part of the name of the building you are interested in. Once this building’s rooms appear, check the boxes to the left of any rooms of interest to you.

You can perform this search for multiple buildings. Once you checked all the spaces of interest to you, click on the Done button in the bottom right corner.
You can then add more search criteria by clicking on the Add Criterion button or save the search by clicking on the Save As button.
Give your search an informative name, for example: “University Hall Rooms”. Then decide if you want to add this search to your starred searches for speedier future access. Lastly, click on the Save button in the bottom right corner.
Your location search is now ready to be used!
To access your created location search
![]()
Click on the Pre-Defined Groups option from the drop-down list.
You can view results as a List, Calendar, Availability, and Availability Weekly.

- The List option shows all spaces with brief information about the space.
- The Calendar view shows the occupation of spaces in a calendar view.
- Availability shows empty and blocked periods for each space allowing the user to see time slots when rooms are available.
- Availability Weekly shows a glance at the activity, by week, for the specified days and number of weeks.
You add or remove columns for the list view by clicking the Choose Columns button.
After changing the parameters for your search, click on the refresh button ![]() to update the data.
to update the data.
Creating Reports
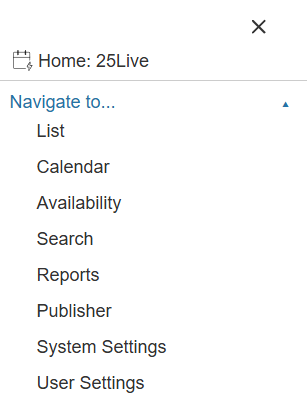
Reports can be found on the More button in the upper right corner of the application. ![]()
Then, from the drop-down menu of options select Reports.
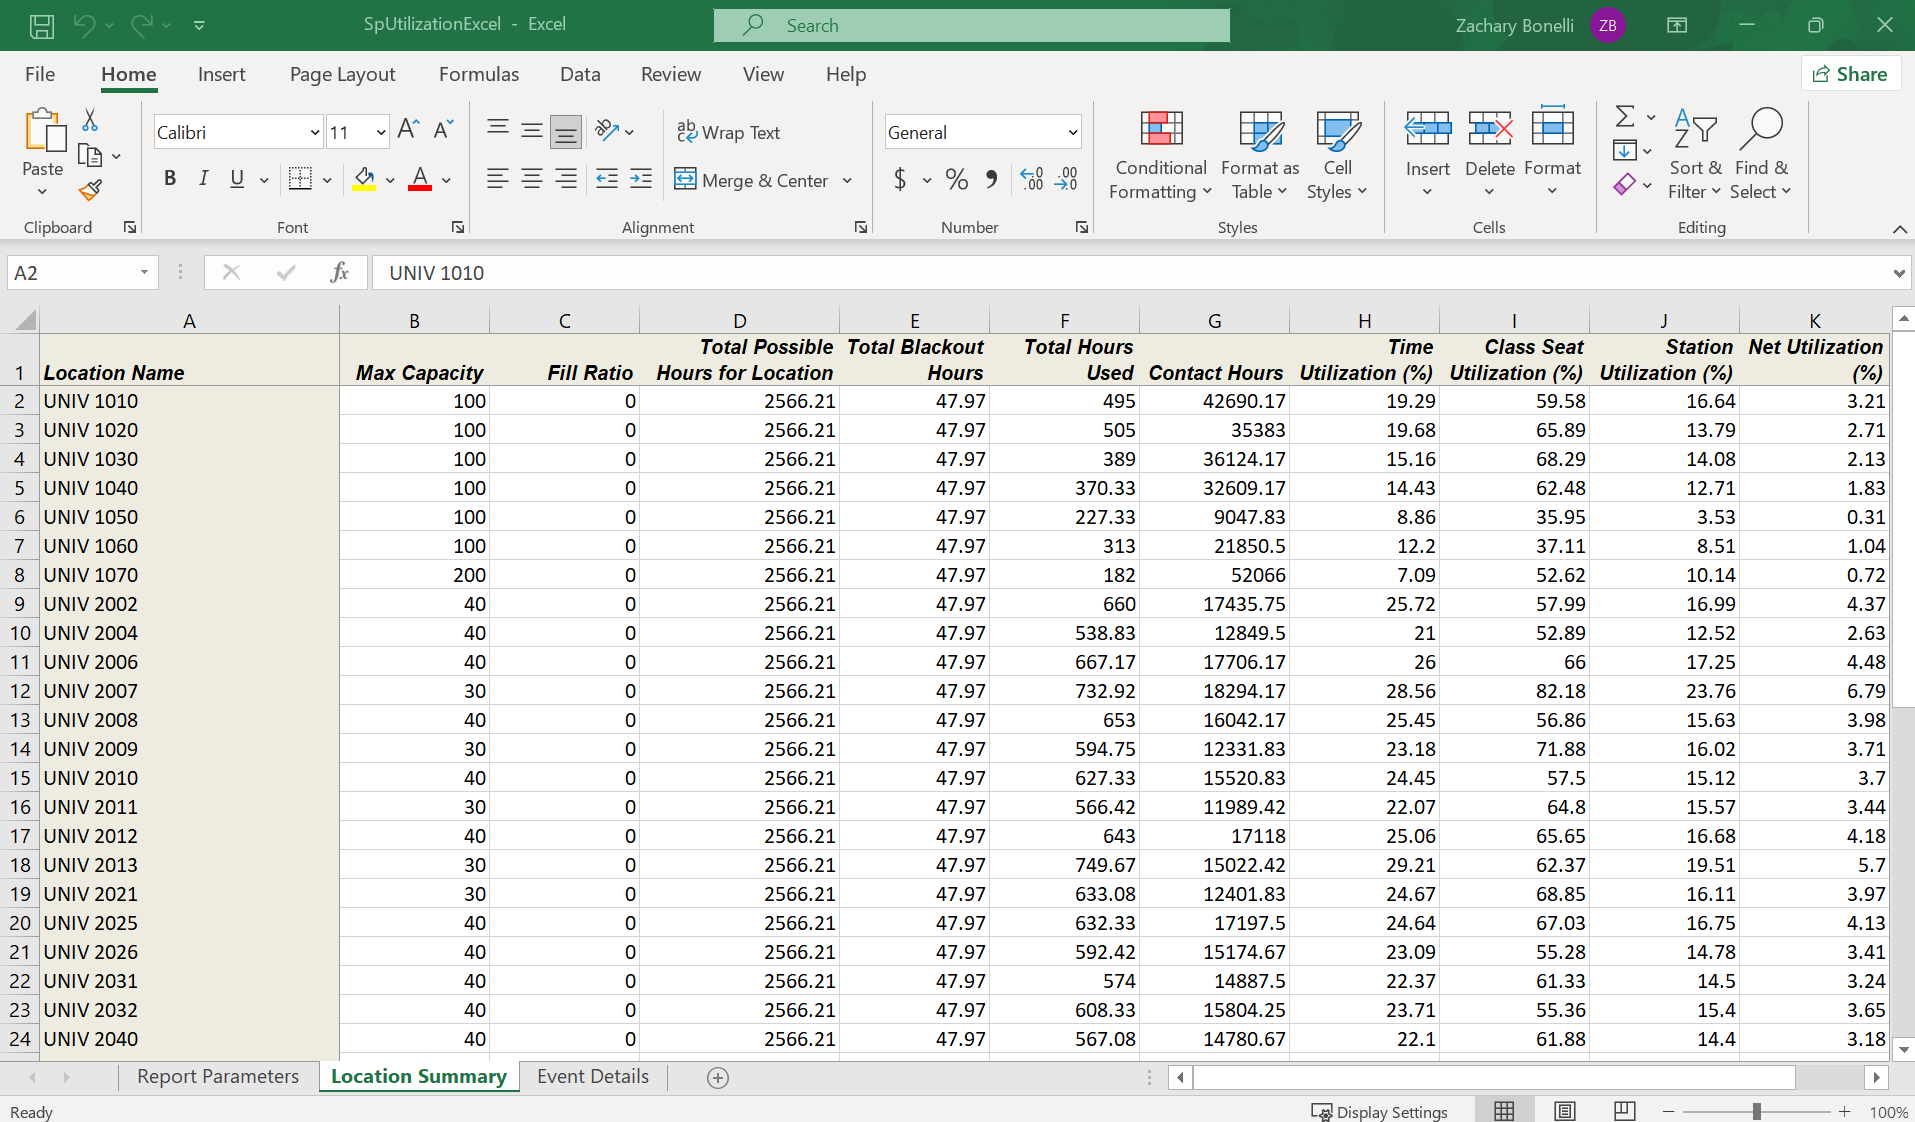
Select the Other Reports link. Then, scroll down until you see the Location Utilization – Excel report.
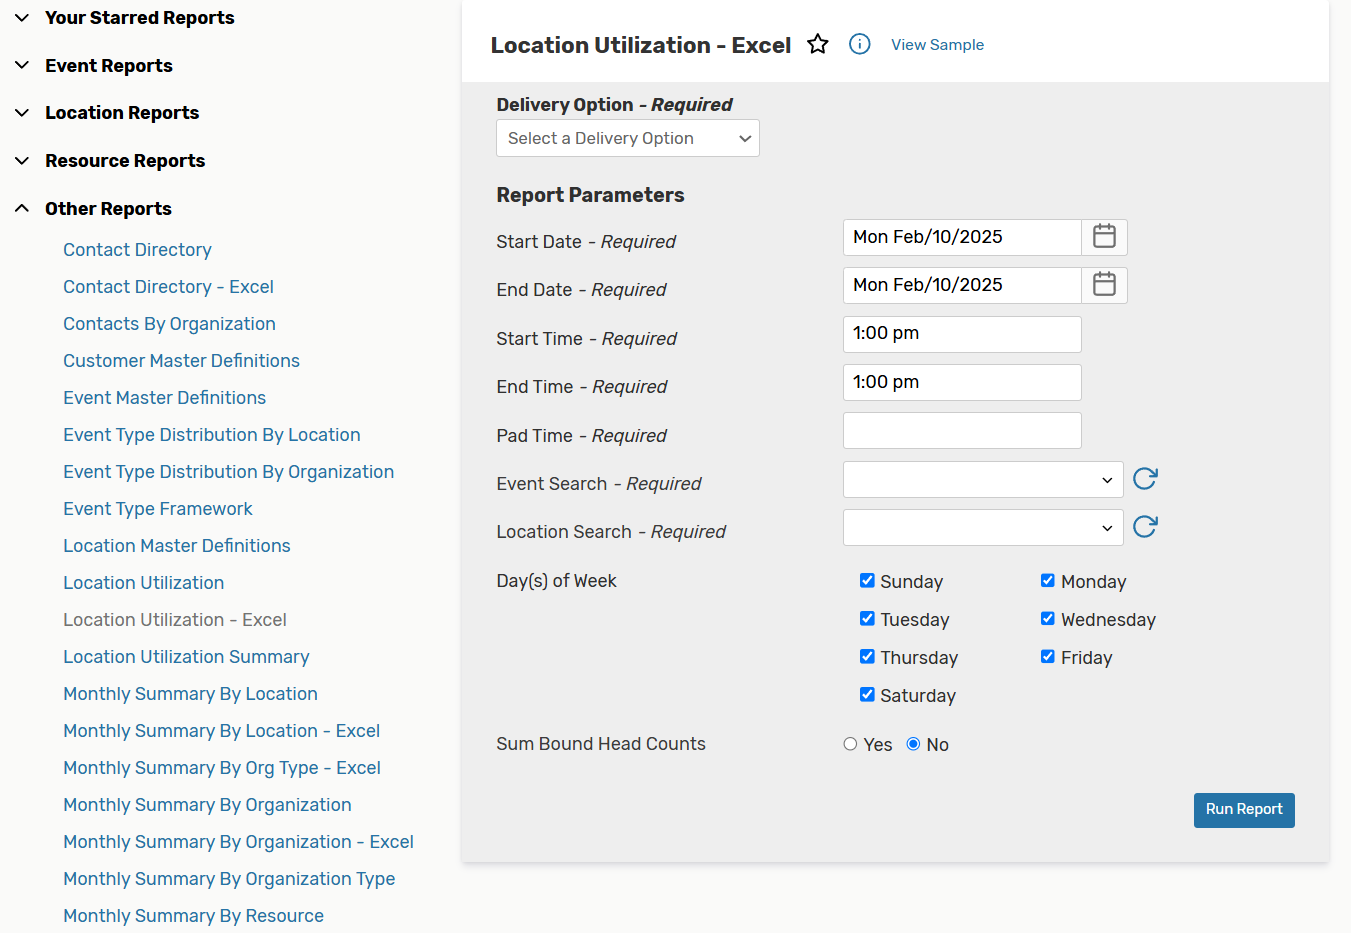
The available delivery options are:
View this report now — to save, export it via a method other than email, or print.
Email this report to yourself — using the email address in your 25Live contact record.
Email this report to… — displays a field for you to complete with any valid email address.
Enter the search parameters for the report:
Start Date — the first date of the analysis period.
End Date — last date of the analysis period.
Start Time — earliest event start time.
End Time — latest event end time.
Pad Time — the time between classes if any.
Event Search — the Event Search for which you would like to run the report. Learn how to build custom event searches.
Location Search — the Location Search for which you would like to run the report. Learn how to build custom location searches.
Day(s) of Week — select the days of the week of interest to you (or you can leave all days checked by default).
Sum Bound Head Counts — select the Yes button.
Lastly, click on the Run Report button and wait for your search results to become available.
Note: Make sure that your pop-up blocker always allows pop-ups from 25Live.
If you have questions about using 25Live, please email 25Live@montclair.edu.