
Spend Authorization Request PDF
The Spend Authorization Request is used to grant permission for a future business expense. These
authorizations are initiated by employees on behalf of themselves or others, as indicated. Spend
Authorization is only required for an overnight business expense or requesting a per diem only cash
advance. Once approved, the spend authorization will encumber the amount of the request against the
Cost Center’s budget.
Check Budget
The first step in creating a Spend Authorization is to check the available budget. For cost center and gift transactions, run the Budget Report, or the Operating Budget Variance for Organization. If the transaction is for a grant, then the Grant Summary by Ledger Account Report should be run.
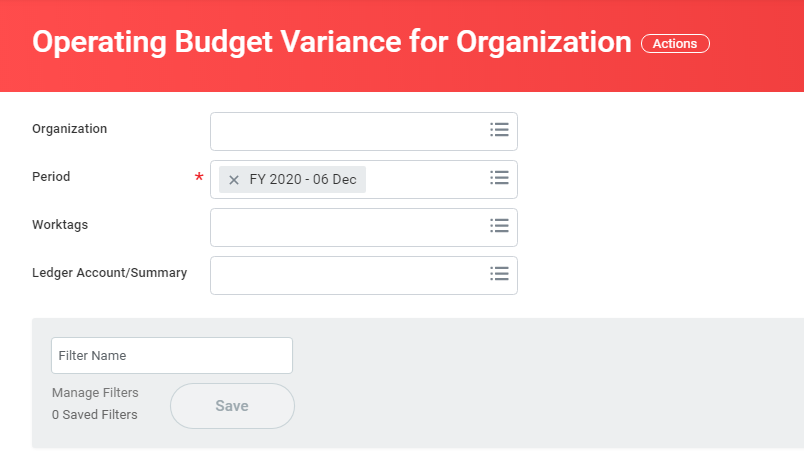
• In the Search field, enter Operating Budget Variance for Organization (R002) to find and run the Budget Report.
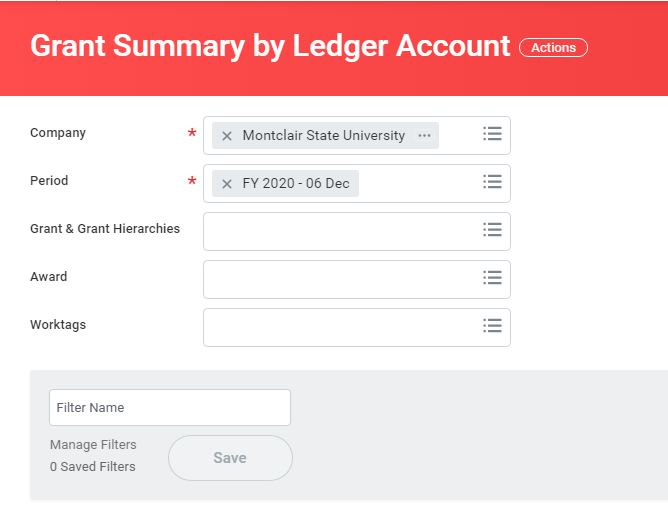
• In the Search field, enter Grant Summary by Ledger (R134) to find and run the Grant Summary by Ledger Account report.
1) In the Organization field of the Budget Report, select the Prompt icon and search for the organization you wish to view. To view a list of all Cost Centers or Gifts to which you have access, select Active Cost Centers or All Gifts.
2) In the Organization field of the Grant Summary Report, select the Prompt icon and search for the project you wish to view.
3) Click the OK button.
The Budget Variance Report (R002)
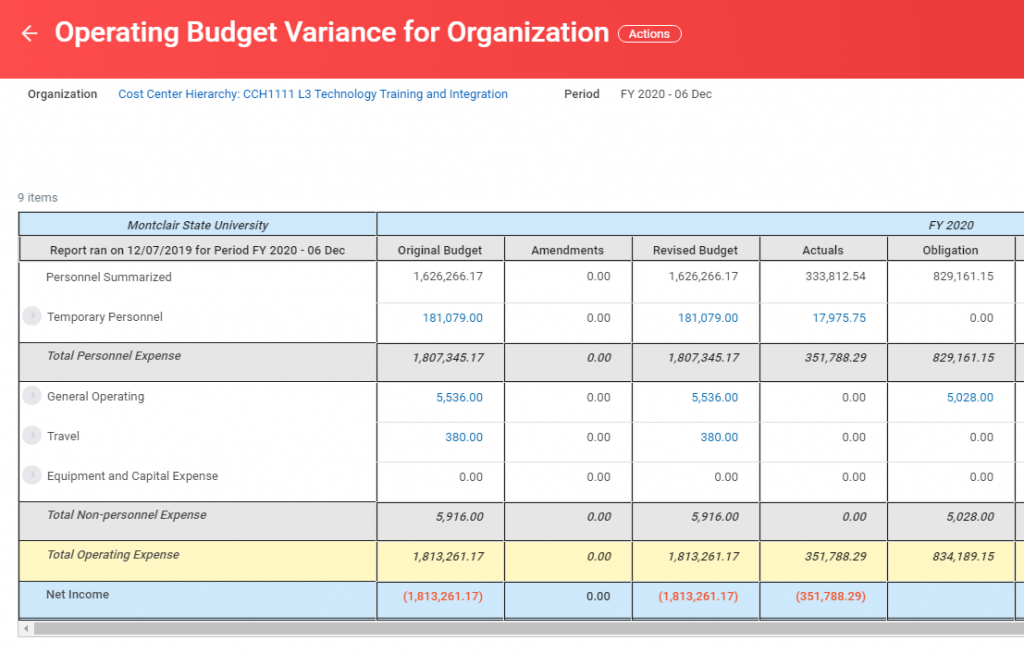
Review the appropriate Parent level Available Budget column to ensure that there is money available for the proposed purchase.
If there is not enough budget in the correct parent account, a budget amendment will need to be completed and approved. Please go to the Workday 2020 website to access the Budget Amendment Reference Guide.
The Grant Summary by Ledger Account report (R134)
Once confirmed that there is enough budget to proceed, begin to build the Spend Authorization.
Create Spend Authorization Request
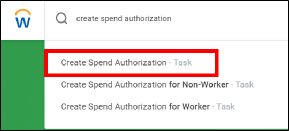
1) Enter Create Spend Authorization into the Search bar and select it from the search results.
OR, click on Expenses from homepage Applications and select the Expenses application. Then click on Create Spend Authorization under Actions.

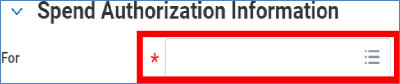
2) From the Create Spend Authorization screen, go to the Spend Authorization Information section
and enter the following:
● Company: This field defaults to Montclair State University.
● Start Date: Select the start date of the trip.
● End Date: Select the end date of the trip.
● Description: Enter the title of the request (name of the event, etc.).
● Business Purpose: Select the item associated with the purpose of the travel, by typing the name of the classification (i.e. conference). This is a required field.
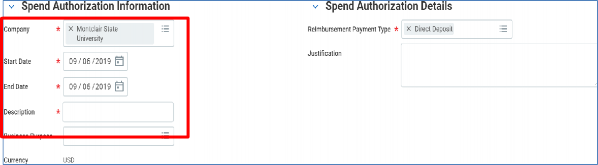
3) In the Spend Authorization Details section enter the following:
● Reimbursement Payment Type: Will default to direct deposit in the same place where the employee paycheck gets deposited.
● Justification: Enter additional information as required by the employee’s department, if any.

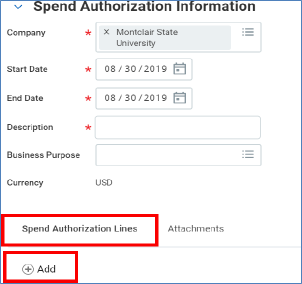
4) Below Spend Authorization Information from the Spend Authorization Lines tab, click the Add button to create a line for each expense.
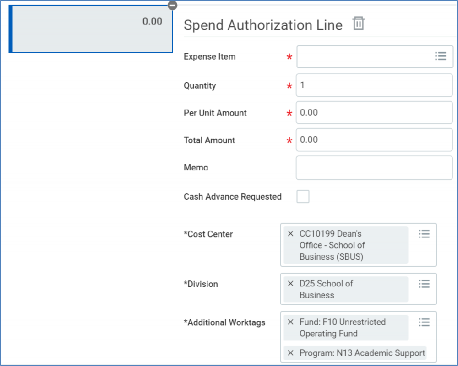
5) Complete the following fields:
● Expense Item: Enter the name of the expense item or service. This field is searchable by typing the name of the item.
● Quantity: Total number of items or services.
● Per Unit Amount: The dollar amount per item/service.
● Total Amount: Total dollar amount for each item/service.
● Memo: Enter additional information to those processing the Spend Authorization. This field is optional.
● Cash Advance Requested: Check this box if a cash advance is being requested. Cash advances can ONLY be requested for per diem meal expenses. Note – Travel card holders should always request a cash advance as the travel card can NOT be used for per diem travel meals.
● Cost Center: Identifies which cost center will pay for the item/service. This field defaults in with the employee’s Cost Center. If different worktags need to be indicated, click the X in the
corresponding field to remove the default and search for the appropriate worktag via the prompt icon. Note – if these fields are changed on the first line, then all lines added in afterwards will reflect the new information.
Spend Authorizations can NOT be split amongst worktags. If cost need to be divided between multiple Cost Centers, Grants, etc., that should be done on the corresponding expense report.
● Division: Identifies the division that will pay for the item/service.
● Additional Worktags: Identifies what Fund and Program the item/service is being charged to. This field defaults in with the worktags associated to the employee’s Cost Center.
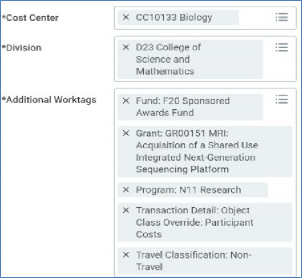
IMPORTANT: If a Grant, Gift, or Project is being used, delete all default worktags (cost center, etc.) by clicking the X in the corresponding field to remove the default and selecting the appropriate driver worktag in the Additional Worktags field. The remaining fields default based on the selection.Note – For expenses related to Grants that involve travel, the following worktags, located under the Additional Worktags field, must be completed:
● Transaction Detail – should be completed when indicating expense for Participant Cost
● Spend Classification – should be used to indicate if Domestic or International travel
6) Under the Spend Authorization tab, select the Add icon to add additional lines. To delete a line, click the Minus button associated to the line.

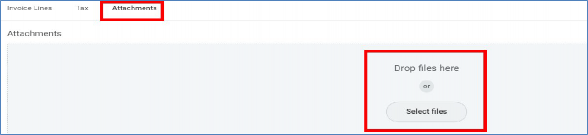
7) Click the Attachments tab to add documentation. Attachments are required, and must include the conference/meeting details including meals that will be provided, along with documented reason if lodging is above the GSA rate, and any other backup required by the Cost Center.
Note – For International travel, justification is required to be included within the Spend Authorization.
8) Click the Submit button to process this request through the approval flow.
Review Budget Check
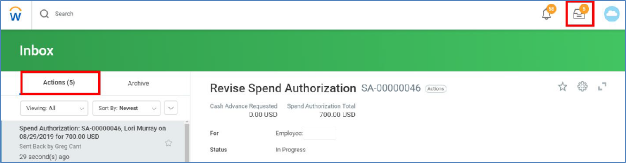
If the system finds an issue with the budget versus your request, a “Review Budget Check” action and Review button displays on the screen, once the request is submitted. An item will also be sent to your Inbox, Actions tab. NOTE-This request will NOT be sent to the approver for review if there is an issue with the budget.
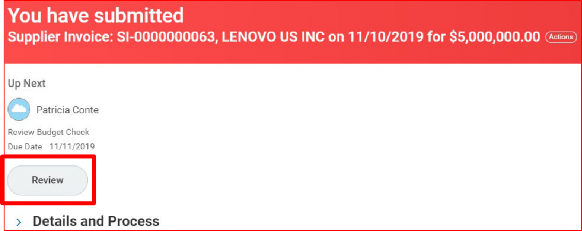
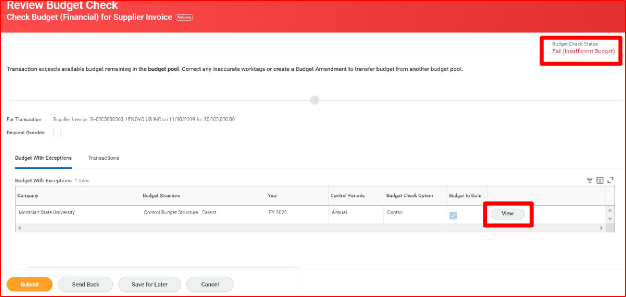
1) Click the Review button to drill into the request in order to find the issue. In the upper right corner, the budget status displays.
2) Click the View button on the line to see the specific details of the request.
3) Review the columns of the report, and pay special attention to the Budget Amount versus the Current Transaction columns.
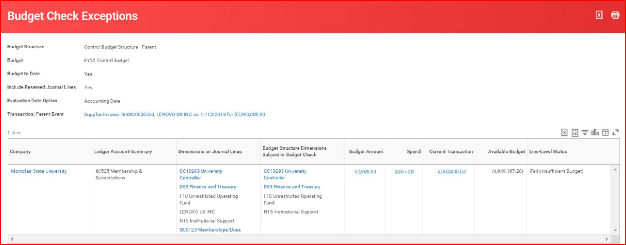
4) Based on the information provided, decide if a Budget amendment needs to be completed, or if the request should be edited to adjust the Worktags.
Manage Spend Authorizations
Employees can locate, view, and edit their Spend Authorizations and Expense Reports by clicking on the Expenses application icon, and selecting the appropriate action in the Expenses Dashboard.
Note – For those spend authorizations and expense reports which were submitted by someone else on behalf of an employee or non-worker, the Initiator must locate the document through the Spend Authorization Lines for Organization – Report (see the Edit Spend Authorization section below.)
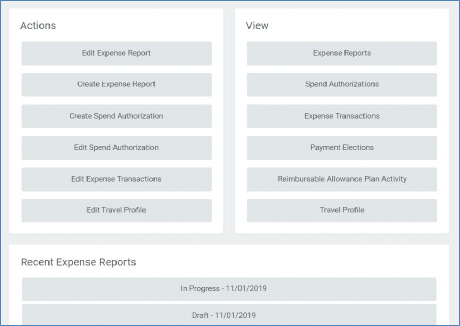
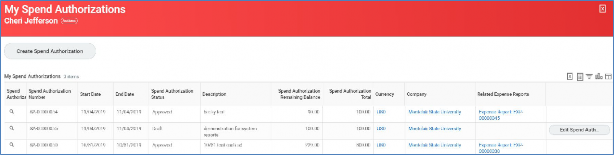
1) Under the View section on the right of the dashboard, select Spend Authorization.
2) On the My Spend Authorization screen, click the Edit Spend Authorization button to the far right on the report line of the non-approved spend authorization to be edited. Note – You can also click the twinkie at the magnifying glass of the spend authorization and select Spend Authorization > Edit to make changes to this document.
3) Make the necessary changes and click Submit to send the spend authorization through the approval flow.
Approval Process
If a spend authorization is created by an individual on behalf of another employee, the spend authorization will be routed to the targeted employee for review and approval before moving to the standard approval flow.
The approvers will receive a notification in their Workday Inbox. The approval flow is as follows:
● Cost Center Manager or Grant Manager (PI)
● Special Approver (if required) – Grants Accounting, Project Manager, Gift Manager, Provost
Office
Note – The approver can send the request back to the requester. If the approver sends the request back, the requester receives a notification in their Inbox of the requested changes. Once the changes are made, the requester must resubmit the request.
Save for Later

1) Click the Save for Later button to save your request and return to it later.
2) To locate the Spend Authorization in Draft status, click the Expenses application icon in applications section of your Home Page.
3) Select View Spend Authorizations and select the appropriate Spend Authorization.
Check the Status of Approval
1) Navigate to your Inbox and click on the Archive tab.
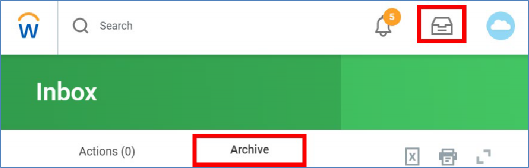
2) Click the appropriate notification and on the left side of the screen, click the
Process tab to view the approval history and the remaining process steps.
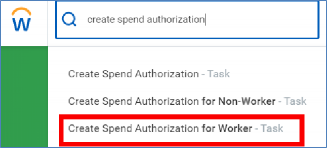
Create Spend Authorization Request on behalf of another Employee (FOR WORKER)
The Cost Center Finance Specialist role can initiate this business process.
1) Enter Create Spend Authorization for Worker into the Search bar and select it from the search results.
2) Enter and select the name of the MSU employee.
3) Continue from Step 2 of Create Spend Authorization Request in previous section.
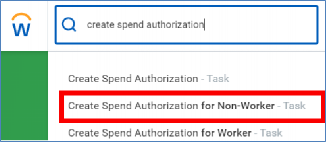
Create Spend Authorization Request on behalf of an External Committee Member (FOR NON-WORKER)
The Cost Center Finance Specialist role can initiate this business process.
1) Enter Create Spend Authorization for Non-Worker into the Search bar and select it from the search results.
2) Enter and select the name of the non-worker/external committee member.
Note – If the non-worker does not display in the system, the Initiator must contact Accounts Payable in order to have the individual created in the system.
3) Continue from Step 2 of Create Spend Authorization Request in previous section.
Edit “On Behalf Of” Spend Authorization
Changes can be made to a spend authorization up until it has been approved.
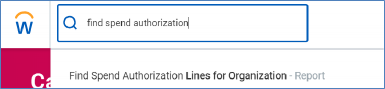
1) Enter Find Spend Authorization into the Search bar and select Find Spend Authorization Lines for Organization – Report from the search results.
2) In the Organization field, select the Prompt icon and My Organizations to view a list of those cost centers associated to you and select the appropriate cost center.
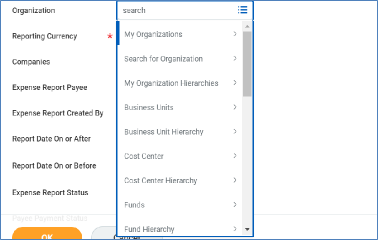
3) Click OK.
4) Locate the line for spend authorization with the Spend Authorization Status of In Progress.
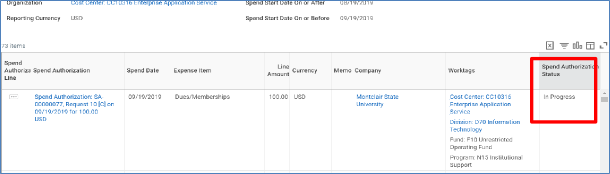
5) Hover over the Spend Authorization field, and click on the twinkie for the Actions menu.
6) Click Spend Authorization and click Change.

7) Make the necessary changes and click Submit to send the expense report through the approval flow.