How to create a Google Sites Template
- Sign into your Google Drive account.
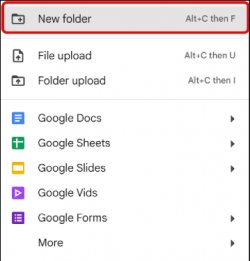
- To create a folder, click +New then choose New Folder.
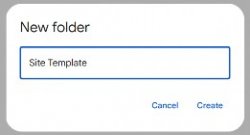
3. Enter a name for the folder (ex. Site Template) then click Create.
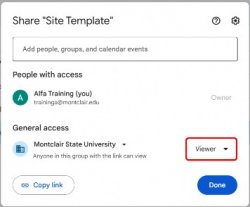
4. Select the folder then click Share.
5. Change the General Access permissions to Viewer.
6. Open the new folder (ex. Site Template).
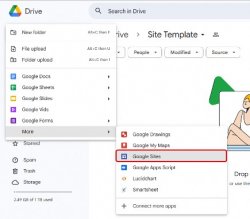
7. To create the site template file in the Site Template folder, click +New → More → Google Sites.
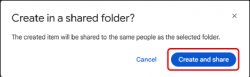
8. A Create in a shared folder window will appear, click Create and share.
9. A new tab will open, enter a name for the template site (ex. ITDS101 ePortfolio Site Template).
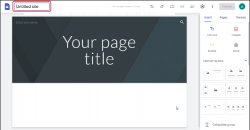
10. Update the site template file with the desired layout/structure.
Note: If you have already created a template file in another location on your drive, move it to the shared Site Template folder you’ve already created.
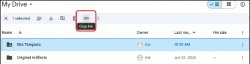
11. Once you have finished setting up the template Site, click on the file folder (ex. Site Template) in Drive then click Copy link.
12. Once you have copied the link, distribute it to your class via your desired communication method (ex. Announcement, email, document, etc.) along with instructions for making a copy of the template.
- Click on the Site Template link provided by your instructor.
- Right-click on the Site template file (ex. ITDS101 ePortfolio Site Template) then select Make a copy.

3. You will see a message confirming that a copy has been made in your My Drive with a link to the file location.

4. Open the copied site file then rename it and edit it as desired.
