
Adding/Updating Personal Email Address
- Log into NEST using your University NetID and password.
- Navigate to “Personal Information” on the left hand menu.
- Select “Manage Email Address” button
- This page will bring you to Self-Service Banner and allow you to view the email addresses already on file.
- If all looks good, and a valid personal email already exists, nothing more is required!
- If you need to change or add, click “Update Email Addresses”
- On this page, select an existing “Personal/Other” email address to edit an existing Personal Email Address.
- If you do not have a Personal Email on file, please select “Personal/Other” from the “Type of email to Insert” dropdown and select Submit.
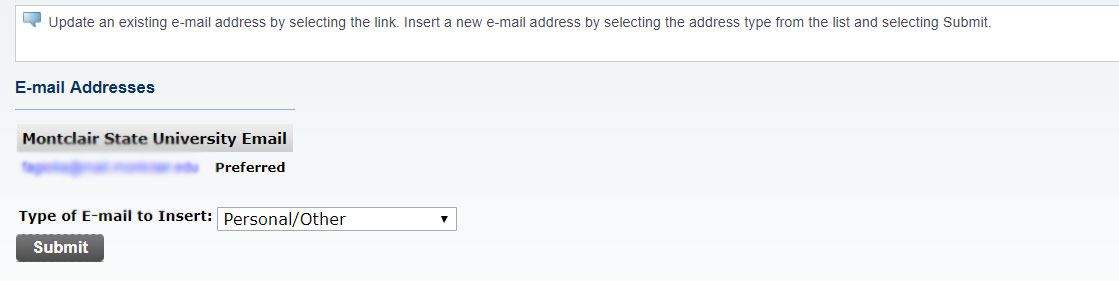
- If you do not have a Personal Email on file, please select “Personal/Other” from the “Type of email to Insert” dropdown and select Submit.
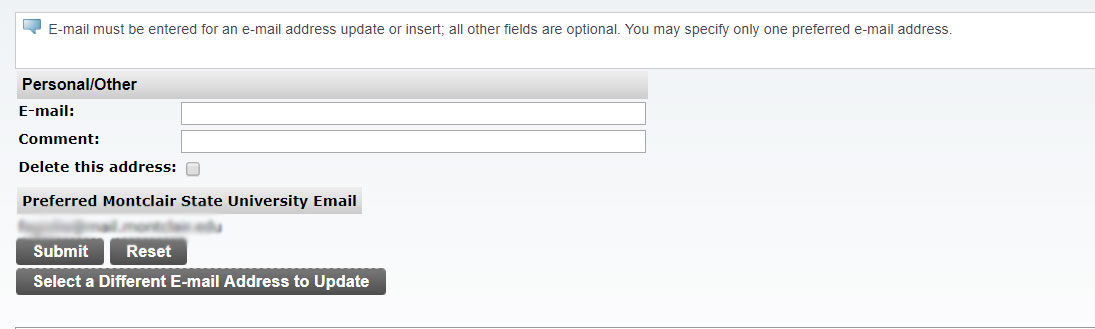
- On the Update/Insert page, please input your Personal Email Address and select Submit.
Adding/Updating a Mobile Phone Number
-
- Log into NEST using your University NetID and password.
- Navigate to “Personal Information” on the left hand menu.
- Select the “Addresses and Phone Number” link to verify/update your personal email address.
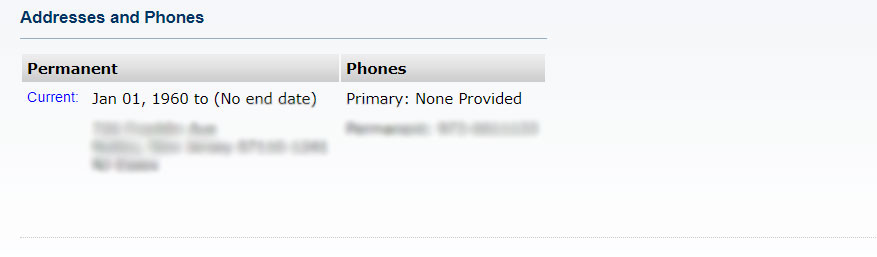
- On this page, select the “Current” link next to your address.
- On the next screen, select “Cell” from the first drop down menu row and enter your area code and phone number for your mobile phone. Please Note: You must enter 1 in the Country Code section for the U.S. For international phone numbers you must enter a numeric country code and the full phone number in the International Access Code column. Select “Submit”.
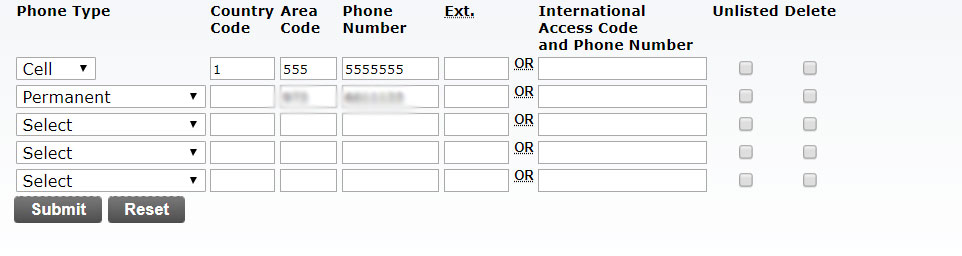
- You can also edit an existing mobile phone number on this screen. Please be sure that the number is listed in the first column under Cell.
Adding/Updating Emergency Contacts
-
-
- Log into NEST using your University NetID and password.
- Navigate to “Personal Information” on the left hand menu.
- Select the “Emergency Contacts” link to verify/update your personal email address.
- On this page, you will see your existing Emergency Contacts as well as an option to edit or add more.
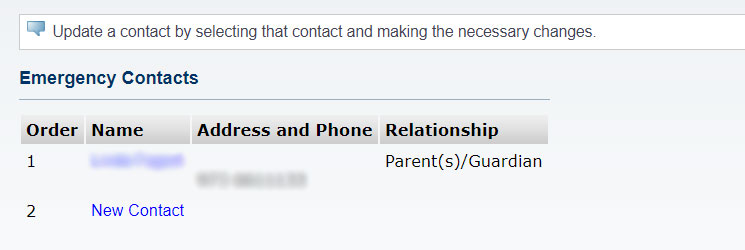
- To edit an existing contact, select the name of the contact. Here you will see all the information about this contact.
- To create a new contact, select the “New Contact” link.
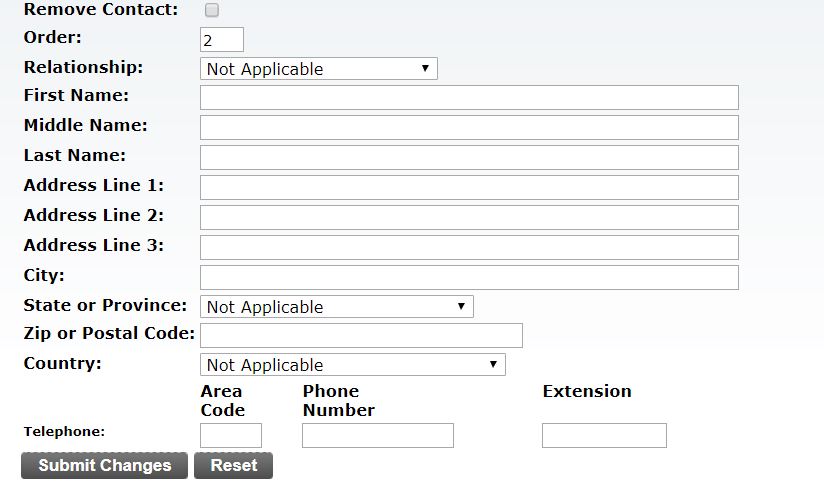
- Enter in the necessary information for this contact and select “Submit Changes”.
-