Proxy Management allows you to assign access for individuals to a specific part/view of your NEST account that you designate.
1. Login to your NEST Account.
2. Navigate to the Proxy Information page on NEST. To understand your rights as a student, please review the Family Educational Rights and Privacy Act by clicking on FERPA. To activate the PROXY, click on the PROXY link.
3. Once on the Student Self-Service Proxy Access Landing page, click on Proxy Management.
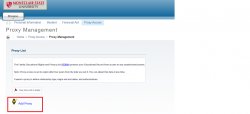
4. Click on “Add Proxy” to add a new user and their information.
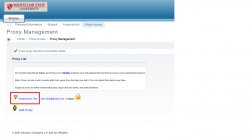
5. Add a new proxy user using the fields requested. Please be advised you must enter ALL of the fields indicated as required fields with found with this asterisk. Once finished, click on “ADD PROXY”.
6. Then click on “Expand John Doe”- To expand the Proxy User information.
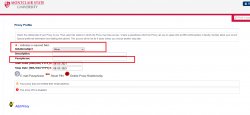
7. Click on the “Profile Tab” and update the following fields:
- Relationship field
- “Passphrase”
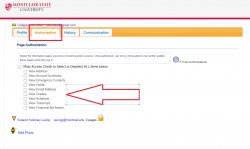
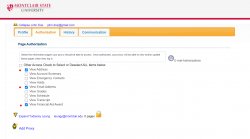
8. Then proceed to click on “AUTHORIZATION Tab”. This prompt will allow you as the student to grant access to the following information related to YOUR account as the student. Click on each of these fields if you wish to grant access to certain views and/or “Select ALL’ to grant open access to ALL. Once you have selected these last options, an email will be initiated and sent to the PROXY user with instructions.