1. As a new Proxy user, you will receive (2) emails.
- New Proxy Identity Email
- New Proxy Relationship Email (Link to view student information)
2. The first email you as a Proxy user must click is on the “New Proxy Identity” email notification. Please follow the instructions to reset “PIN” that allows you to view your student’s information.
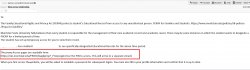
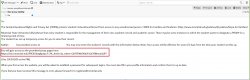
Example: Email: New Proxy Identity
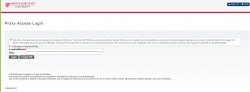
3. Click on the link given in the email to reset the PIN. Enter “PIN” found on the Proxy Identity email received. Then click on “SUBMIT.”
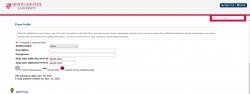
4. Fill out the information to Reset PIN by entering the following information.
- Proxy Email account (you as the proxy user –NOT the student’s email)
- OLD PIN (Old Pin received via Proxy Identity email)
- Create NEW PIN
- Validate the NEW PIN.
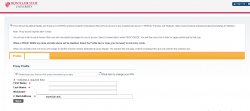
5. Once you have reset the pin, you will land in the Proxy landing page.
6. Click on the tab where the student’s name is displayed to view the pages your student gave you access as a proxy user.
Example: Once the student has identified what you may see, your images will look something like this, depending on what options they pick (financial aid, student accounts, registrar.)

7. If you wish to access this link later. You may access “your student’s information” through the link provided in the email “New Proxy Relationship.”
Example:
Follow the same login information:
- Email Address: your email address as the PROXY user
- PIN: Pin Created.