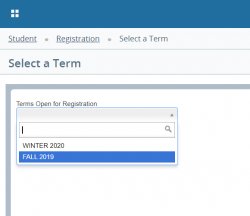
Enter the term for registration: Example: Fall 2019 then click continue.
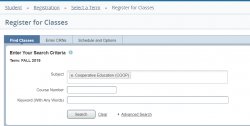
Enter the course criteria: Subject, Course # and/or select to search under Advanced Search to enter more information about the courses. Once you have typed the course information click on “SEARCH”
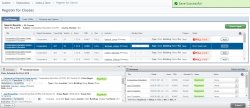
Under “Find Classes” a list of all the sections for the class you are searching will display.

At the bottom left of the screen a calendar mode of your schedule of classes will display.
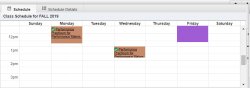
You can also view more details about your schedule if you click “SCHEDULE DETAILS”

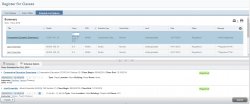
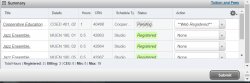
In the lower-right hand-side of the screen you will see a SUMMARY of your schedule and the action for these courses. (Registered, Withdrawn, Drop, etc)
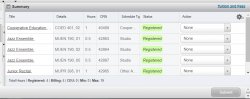
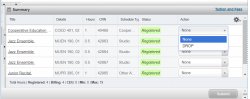
If you notice there is green status word of “registered” that shows all the courses you have successfully registered for the term. If you wish to drop/withdraw from any of the courses listed here, you will have to select a “new action” for the course action drop down menu and then click on “SUBMIT” for the changes to take place.
See example:
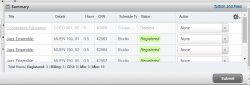
The “green warning message” of SAVE SUCCESSFUL should display after any action taken for any of these courses.

Find the course/section you wish to register for.
Example:

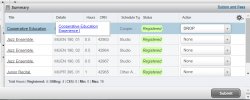
Click on “ADD” , once you have clicked on “ADD” the course will be dragged to “SUMMARY” and the status of this course should say, “PENDING”. You can continue to add courses until you ready to commit to the new schedule.
Please note in order to finalize the registration you must click on “SUBMIT”.
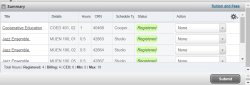
The green warning message of “SAVE SUCCESSFUL” and “registered” status will display next to the course.
Ensure you have registered for the course. The list of courses you have registered will display under “Summary”.
Once you have registered for the course you can change the credit hours for variable courses. These changes can be made under “Schedule and Options” tab.
Click on Schedule and Options tab.
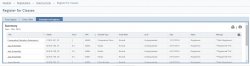
Find the course you are trying to change the “credit hours”. Only courses that are variable courses will allow you to change the hours. These courses will have the hours “underlined”.
Click on the hour box field and enter the new credits/hour, then scroll to the bottom of the page and click on SUBMIT to save the new hours for the course.