XM Fax User Guide
How to create a fax using the web portal
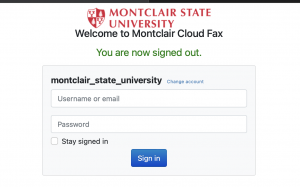
- Open your preferred internet browser and navigate to the XM Fax cloud service using the following URL XM Fax.
- Enter montclair_state_university as the account name, and then enter your username and password. Click on the Sign in button to access the XM site.
- After logging in, click on the + New Fax button on the top left to access the compose page.
- Fill out the fields under the Recipients, Cover Sheet, and Attachments sections.
▪ Recipients
o Name – Name of the person who will receive the fax.
o Company – Name of the company the recipient is at..
o Fax (Required) – Fax number that the attachments will be sent to.
▪ Cover Sheet
o Style – The format for the cover sheet of the fax. This can be set to “Default cover sheet (MSU_VOX_Dept_Cover.cse)” or use another cover sheet in the list made available to your profile. Contact the ServiceDesk to submit a request for another cover sheet to be added at itservicedesk@montclair.edu, attn: VOX.
o Subject – The Subject for the fax that will be sent.
o Comment – Any additional details that may want to be provided along with the fax
(i.e. Attention To: ).
▪ Attachments
o This section will allow you to select documents that will be faxed. You can drag and drop items in the provided section or click on the Browse button to search for documents on your computer.

- Confirm that the fax is filled out correctly and is showing as expected by clicking on the Preview button. Once you check the preview, click on Submit to send the fax. If changes are required, click the back button to return to the compose page.
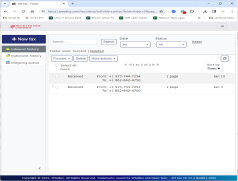
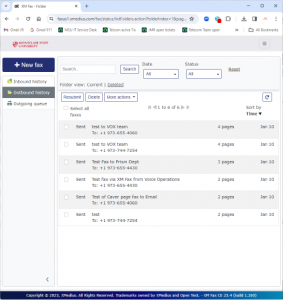
- Timing for fax transmission will depend on the number of documents being faxed. To check on faxes that you have received, or sent out, click on the Inbound history and Outbound history folders. In the screenshot below, you will see an example of a Successful and a Failed fax in the Outbound history:
Creating a fax using email
- Launch Gmail and click Compose to start a new email message.
- Attach documents that need to be included in the fax by dragging and dropping the files or clicking on the attach file button within the Message ribbon of the email.
- Fill out the following fields to submit the email as a fax:
▪ To: – Input the fax number of the recipient followed by “@xmedius.com”. For example, if the recipient’s fax number is ‘1234567890’, the “To:” field would read 1234567890@xmedius.com.
▪ Subject: – Enter the subject line for the fax that will be sent.
▪ Body – Type any additional details that may needed for the fax.
- Confirm that the fax is filled out correctly and contains the documents needed for faxing as attachments. Click on the send button to send the fax to the recipient. After you click on send, XM will send the fax via email. When the transmission is completed, an email confirmation will be sent to your inbox informing you that the fax was either successful or failed
Please contact us at itservicedesk@montclair.edu, attn VOX if you have any issues, or questions with this solution.